HOW TO PICK THE RIGHT TRAVEL PHOTOGRAPHY LOCATION
PAMELA GOODYER’S LOCATION SEARCH:
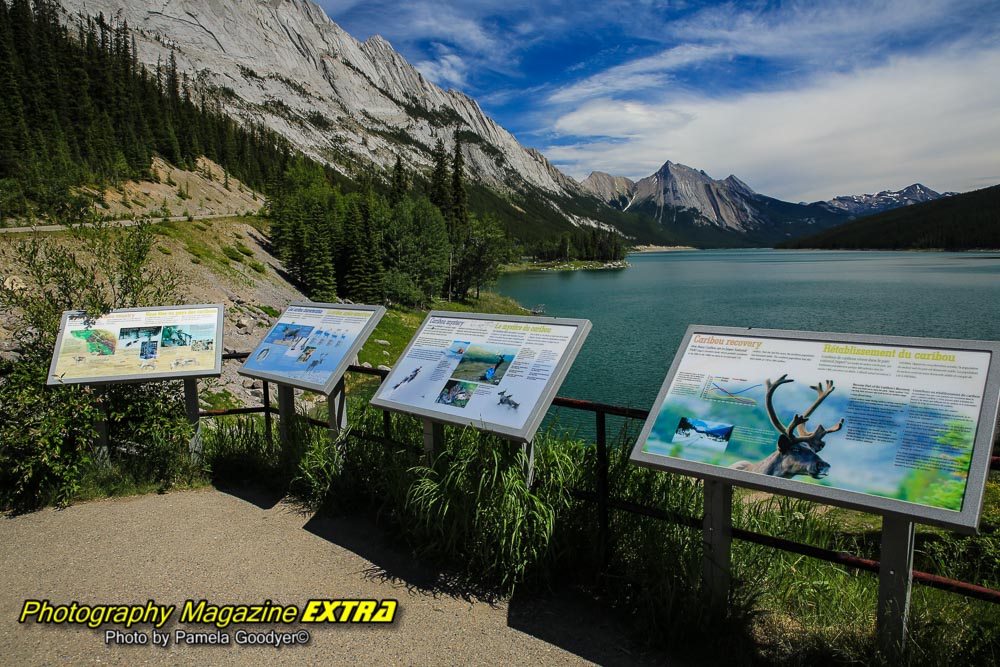
Choosing the perfect destination for travel photography is like finding a hidden treasure – it requires careful consideration and a bit of luck. Without a doubt, our adventure through the majestic Canadian Rockies yielded thousands of breathtaking photos in just one week, each frame capturing the rugged peaks, crystal clear lakes, and vibrant forests. However, our first three days in Hawaii were met with disappointment as we struggled to find inspiring shots amidst the bustling tourist hotspots.
It’s crucial not to rely solely on a location’s reputation for its scenic beauty; photographers must also consider the potential for producing dynamic and award-winning photos. As an experienced photographer, I know that selecting the right location for your next travel adventure is pivotal. It can make or break the success of your project and ultimately determine the quality of your photographs. With that in mind, here are some valuable tips on how to pick the perfect photography location:
1. RESEARCH:
Delve into the depths of your wanderlust and discover new wonders to photograph by researching various locations. Seek out visually stunning places that will make your photos unforgettable. Look for natural landscapes adorned with lush greenery, majestic mountains, or crystal-clear waters. Explore architectural masterpieces like towering cathedrals, ancient ruins, or modern skyscrapers. Immerse yourself in rich cultures and capture iconic landmarks brimming with history. Unleash your creativity using social media platforms, travel blogs, and photography forums to gather inspiration and find hidden gems in our comprehensive photography hot spot location guides.
2. ACCESSIBILITY:
Consider how easy or difficult it may be to access the location you have in mind. Are there any restrictions or permits required to shoot there? Will you need to hike or climb to get the shot you want? Will you need to carry heavy equipment? Make sure you are physically able and willing to meet the demands of the location before committing to it.
3. TRAVEL:
Will you drive or take a plane or boat to your location? Please look at the cost, time, and logistics of traveling to your chosen destination. It may only be worth the effort if it’s affordable and convenient.
4. DON’T ASSUME:
Don’t assume that every inch of this area will lend itself to eye-catching and dynamic photography just because you may have seen a handful of striking images during your research. Do not let those isolated examples sway your opinion. It is essential to dedicate time and effort towards fully immersing yourself in the environment, carefully studying and evaluating both the landscape and its surroundings before judging its potential for capturing stunning photographs full of life and energy.
5. TIMING:
The timing of your visit can significantly impact the quality of your photographs. Consider the season when planning your trip. Golden hour, the time just after sunrise or just before sunset when the light is soft and warm can make for stunning photographs—similarly, visiting during a season when the landscape is in full bloom.
6. WEATHER:
Keep an eye on the weather forecast for your selected location. Weather can significantly affect the mood and atmosphere of your photos. For example, shooting during a cloudy day can create a moody and dramatic effect, while shooting during a sunny day can give a bright and cheerful feel. Be prepared for any weather conditions and adjust your shooting style accordingly.
7. REPUTATION:
When searching for the perfect location for a photo shoot, it’s crucial not to rely solely on a place’s reputation. While choosing a well-known location with a history of producing stunning photos may be tempting, it’s essential to consider lesser-known spots. These hidden gems can offer unique and creative backdrops that set your photos apart. Be adventurous in your search; you may be pleasantly surprised by the beauty waiting to be captured in unexpected places.
ONCE YOU ARRIVE AT YOUR DESTINATION
1. CONSIDER LIGHTING:
Lighting is one of the most critical factors in producing high-quality photos. When selecting a location, consider the time of day and the sun’s direction. Depending on the style of photography you want to achieve, you may prefer soft, diffused lighting or dramatic shadows and highlights.
Remember that different locations will offer other lighting conditions, so be prepared to adjust your shooting style accordingly. Golden hour, just after sunrise or before sunset when the light is soft and warm, can make for stunning photographs. Similarly, visiting during a season when the landscape is in full bloom is ideal. Bare trees rarely make dynamic, jaw-dropping photos.
2. SCOUT THE AREA:
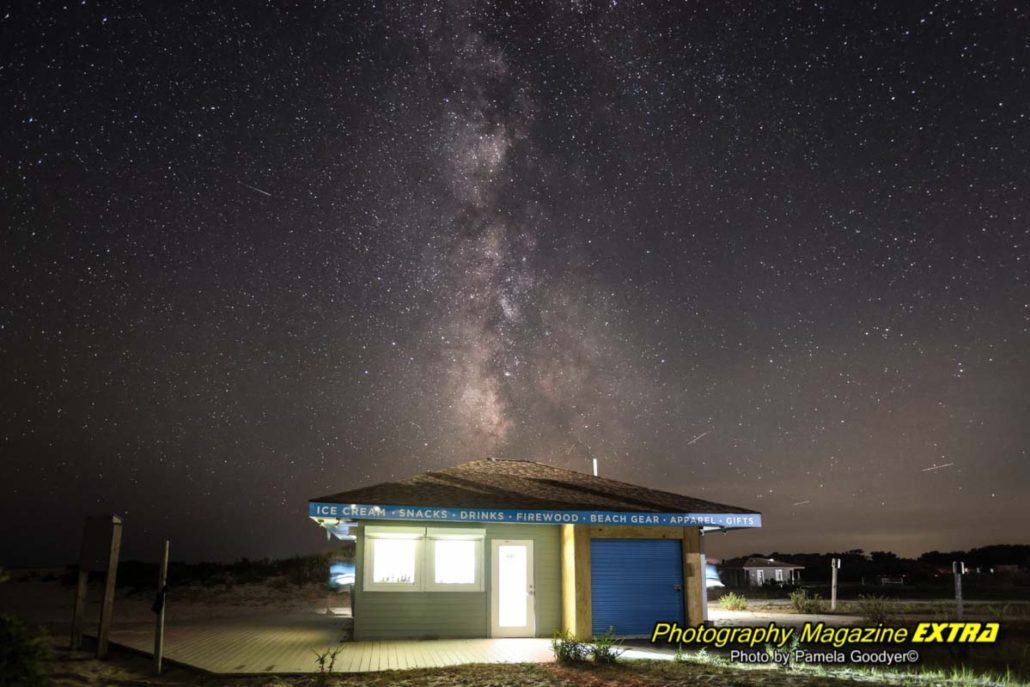
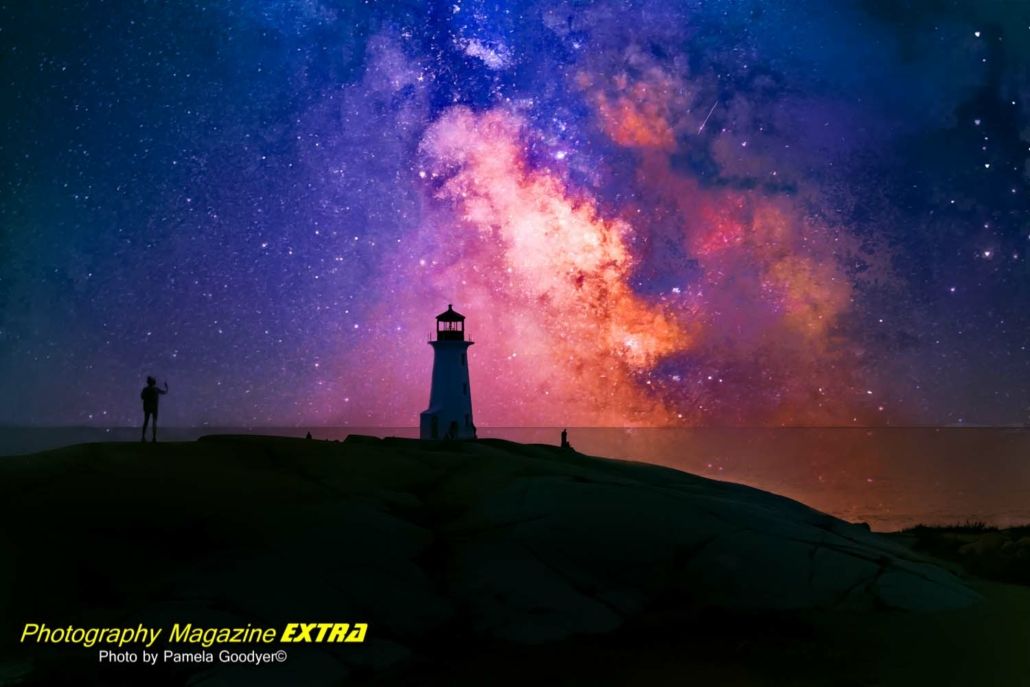
It’s always a good idea to scout the location beforehand, especially if you plan on taking photos of the Milky Way. While technology can be helpful, physically visiting the area to see where the sun will rise or set or where the Milky Way will appear on the horizon is different. It’s best to scout the location before your shoot; otherwise, arrive early to give yourself enough time.






 Photography, Lessons, Workshops and Classes.
