
At my own expense, I offer all of this to you: a humble tribute to Mother Gaia. It is my hope that you will spread my art and message to others, uplifting and inspiring their souls.
May my works guide photographers illuminating their path toward creating stunning and impactful images that show the raw beauty and essence of life in all its transcendent glory. —Pamela Goodyer
CAMPBELL RIVER GRIZZLY BEAR PHOTOGRAPHY
A DAY PHOTOGRAPHING GRIZZLY BEARS FISHING ON SALMON
A SPIRITUAL AND AMAZING DAY
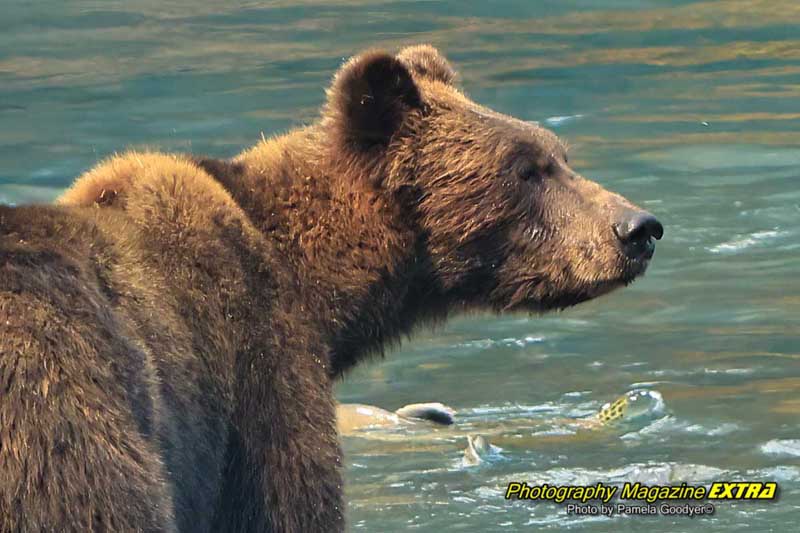
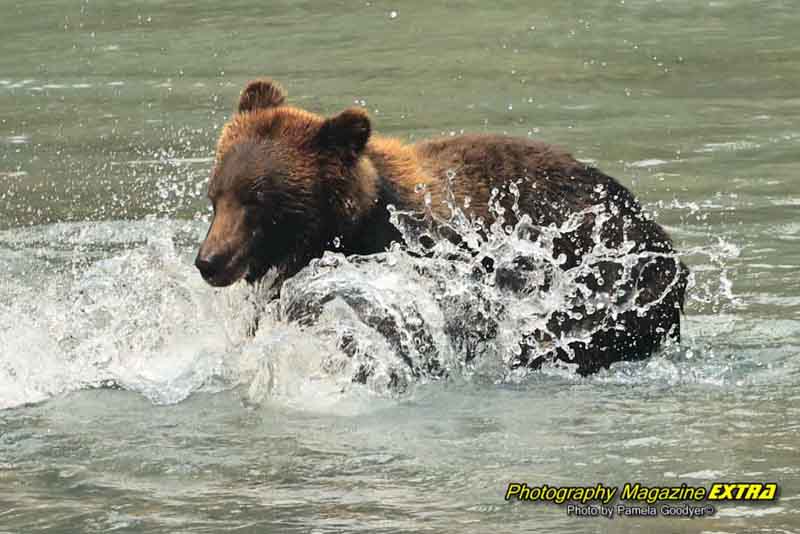
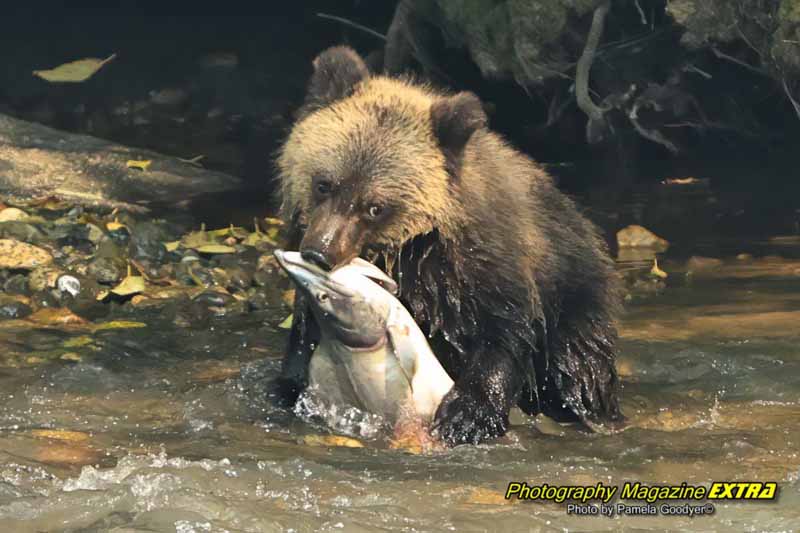
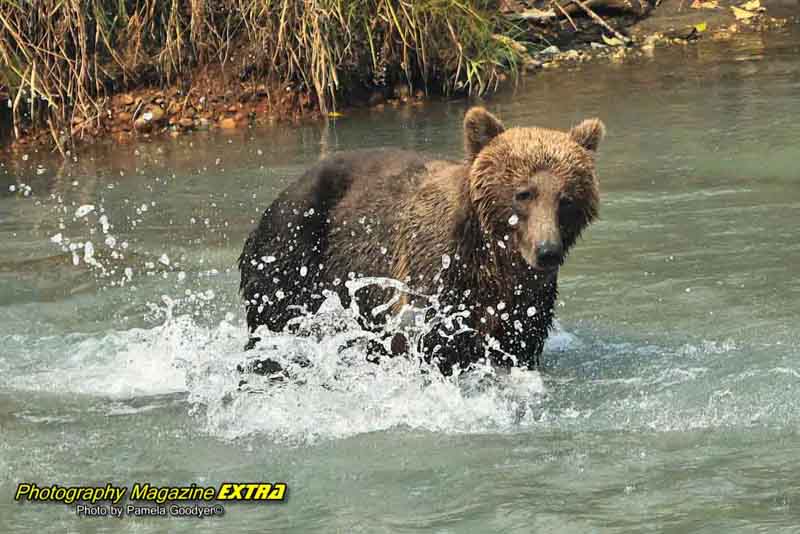
Witnessing grizzly bears in their natural habitat and catching salmon with such power and grace is a once-in-a-lifetime experience that should be on every photographer’s photography list. It’s not just about taking amazing images; it’s about immersing oneself in the majesty of Mother Earth, feeling connected to our planet and all its wondrous creatures. This is a humbling reminder of our place in this magnificent world where we are fortunate to walk.
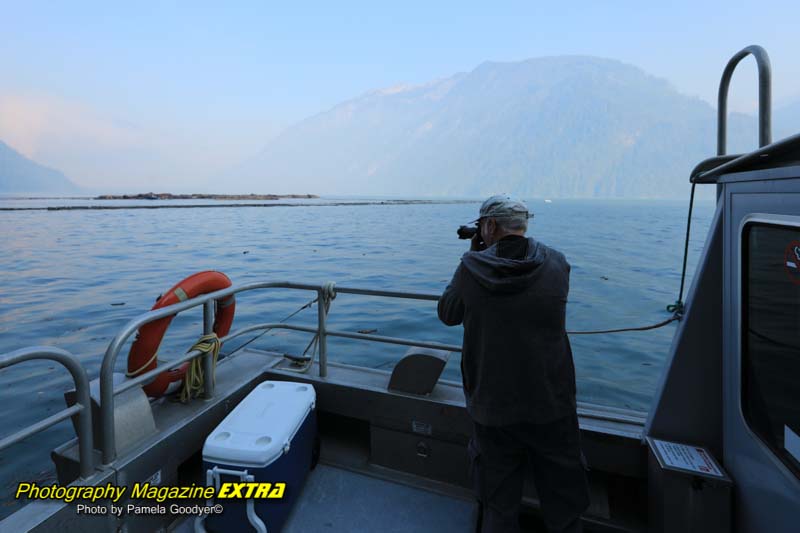
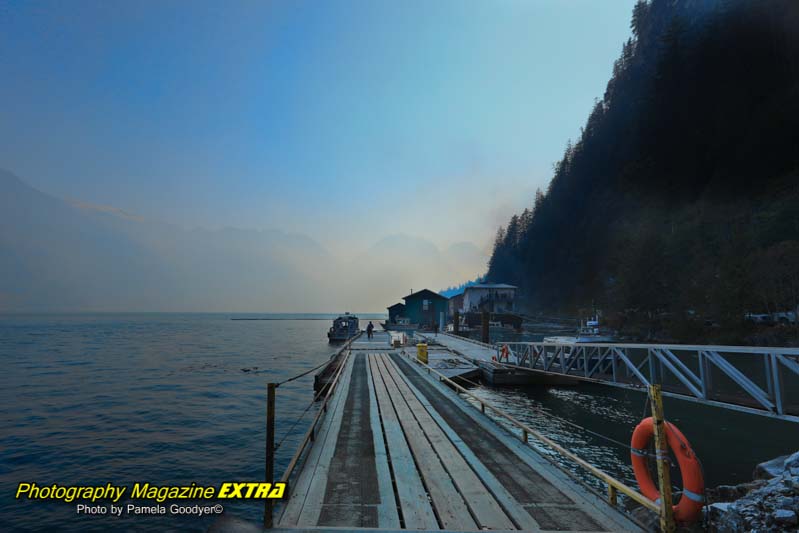
THE BOAT RIDE
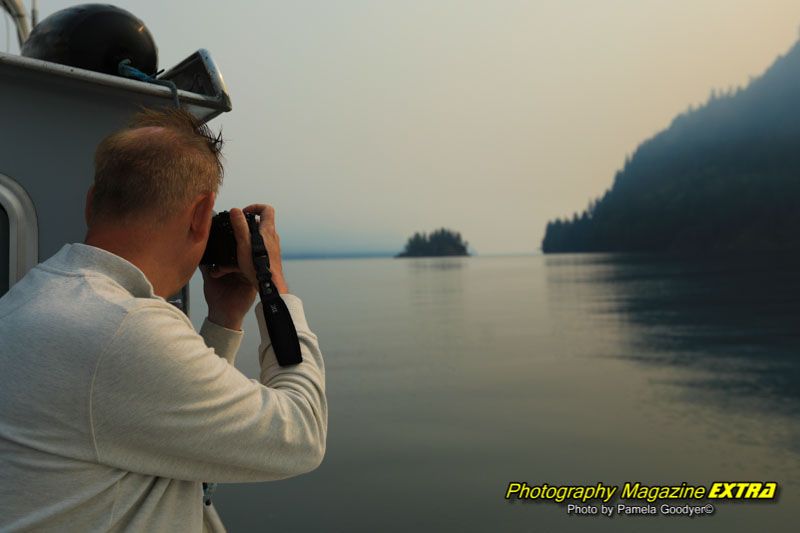
Amidst the chaos of the wildfires in Canada in the summer of 2023, we embarked on our journey. Our boat cut through the waters while the smoke was above us as we passed between towering mountains in the Butte and Toba Inlets. The sight was both awe-inspiring and harrowing, a reminder of the fragility of our existence in the face of nature’s destructive force. As we sailed further into the unknown, I couldn’t help but wonder if the smoke would come down and engulf us—but rest assured, it did not.
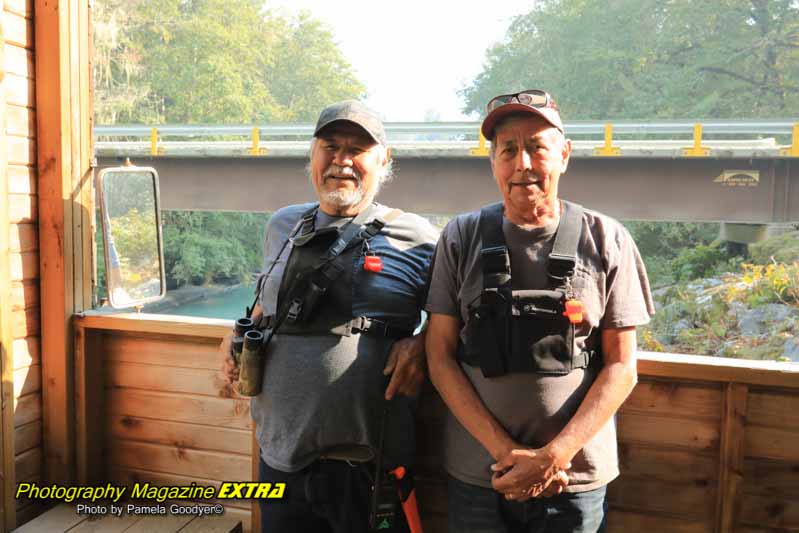
ONE NATION GUIDES
The group took breathtaking shots of the majestic grizzly bears. Our guides ensured our safety despite being surrounded by fires as they expertly led us through the wilderness. Their deep connection and understanding of Mother Earth are truly admirable. We were grateful for their culture and history as we experienced a sense of ease in their presence. These incredible leaders from one nation are indeed masters of their craft, keeping us safe from any dangers that may arise during our journey together. Our one guide told us that he once lived on this island.
WHAT’S THE BEST PART ABOUT CAMPBELL RIVER?
The Fire Department!!
Please allow me to tell my story before we discuss photography to show my appreciation.
I dragged myself out of bed before the sun peeked over the horizon, determined to capture the perfect sunrise photograph. Our new drone glinted in the early morning light as we trekked up the steep side of Vancouver Island, eager to start our day-long journey. The drone whirred quietly above me, capturing incredible footage of the lush landscape below. I was so enthralled by my progress that we decided to backtrack and do the entire run again.

But disaster struck as I backed up the drone without paying attention—a crunch echoed through as we collided with a towering pine tree. My heart sank as I watched a man in the distance point up to a thick branch high up in the pine tree. He called us over, pointing towards our now-stranded drone nearly 25 feet in the air.
Panicked and on the verge of tears, I dialed the fire department for help. However, their policy did not include retrieving drones from trees. Desperate for a solution, Pamela Goodyer, whose background included investigating fire departments, mentioned this to the supervisor. In an unexpected turn of events, he made an exception and came to our rescue, saving our day from utter disappointment! (That is the short version, I pleaded in desperation. All the footage from the whole island was on a memory card in the drone for the video we are creating.) LESSON: Besides not backing into a tree, have a second memory card in the controller.
In the USA, the fire department is revered by all, myself included. My stepfather was a brave volunteer fire chief who helped mold me into who I am today. These selfless individuals risk their lives daily to ensure our safety and well-being. Their actions go far beyond just extinguishing fires; they are true heroes in every sense of the word.
THANK YOU, CAMPBELL RIVER FIRE DEPARTMENT, FOR SAVING OUR DRONE AND THE VANCOUVER ISLAND FOOTAGE!
BEST TIME TO GO
The highlight of this trip is the grizzly bear photography. You will only see them fishing on the salmon during the season.
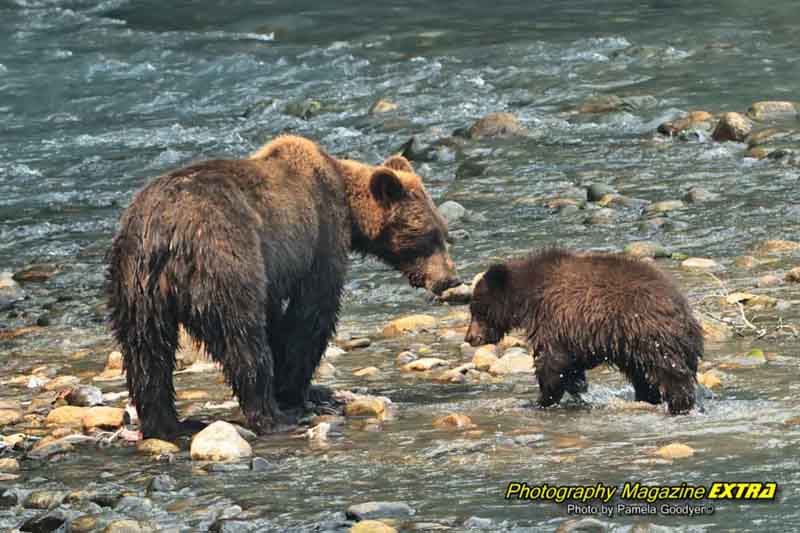
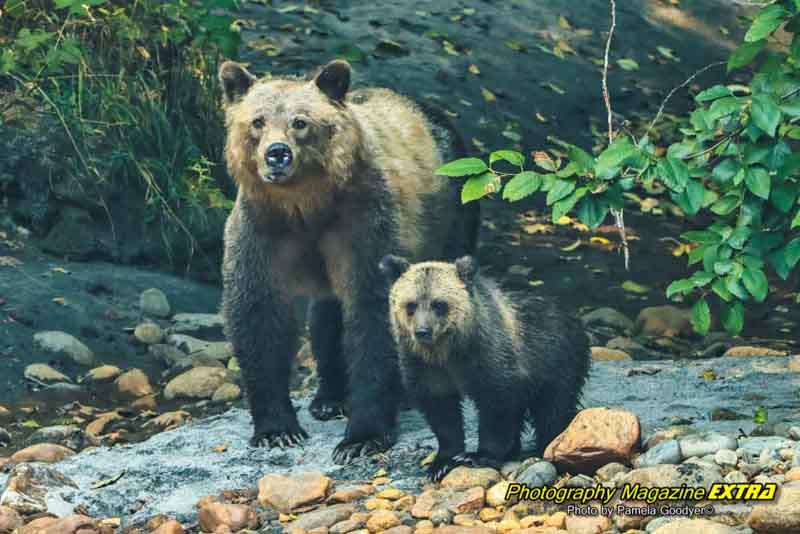
For the ultimate experience, take a guided tour by covered boat or floatplane to see the majestic Grizzly bears in the Great Bear Rainforest, Knight Inlet, Rivers Inlet, or Bute Inlet at the island’s north end. Guides will bring you to the best vantage points for safely observing these massive brown bears in their natural habitat.
HOW LONG TO PHOTOGRAPH
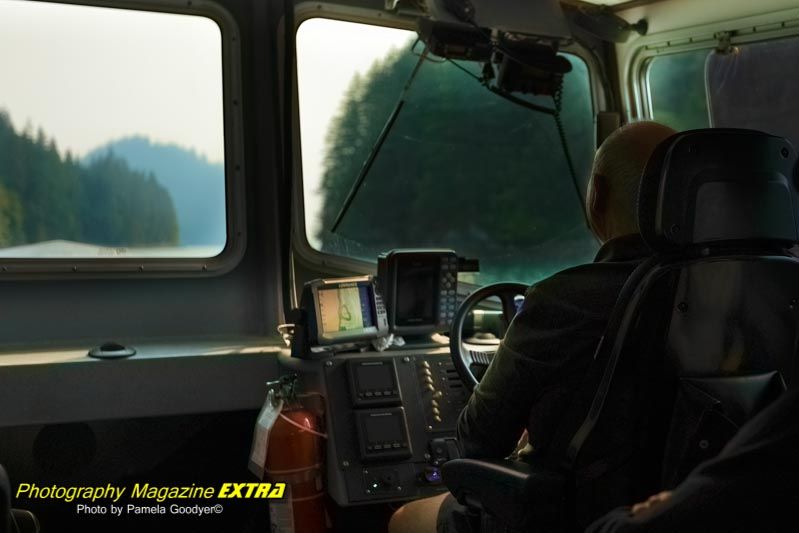
If you go on a grizzly bear tour, it is an all-day adventure. The boat ride is about 1.5 hours each way, but you will meet new people and sometimes stop along the way if there are whales in the area. We went on a boat tour, and our guide was extremely knowledgeable. The entire trip went off without a flaw, although, as you can see, we went when the wildfires peaked.
WHAT PHOTOGRAPHY GEAR TO BRING
Of course, you will need a zoom lens. You will be at a decent distance to get good images like ours. We shot with a 48MP camera and a 100 -400 lens. You will be in a blind with many people on your tour, so hand-holding a 400 mm was a good choice. Call ahead to see if your tour will allow tripods. Bring extra batteries and memory cards. It’s a long day of shooting.
WHAT ELSE TO BRING
Our tour supplied our lunch, snacks, and drinks. We encountered no bugs, but bringing organic bug spray can’t hurt. (We hate toxic chemicals) Wear hiking boots and bring your backpack. There is no long walk, but dressing for the wilderness is advised.
HOW TO GET THERE
BC Ferries:
001 Island Highway, Campbell River, V9W 8C7
Air travel options from Seattle to Vancouver Island
Fly from Seattle, WA (and many other locations) to Victoria or Vancouver, and rent a car there!
Horizon Air Reservations: Toll-free 1-800-547-9308
Air travel options From Vancouver to Campbell River & Comox
WESTJET – www.westjet.ca
Fly WestJet to Comox on Vancouver Island and rent a car (approx. 20 minutes drive (32 km) from airport to resort).
Budget Car Rental: 1-800-268-8900 or 250-754-7368.
National Car Rental 1-800-387-4747 or (250) 923-7278
Fly to Nanaimo or Campbell River on Air Canada Jazz, and rent a car from Budget Car Rental (approx. 1.5 hour drive from Nanaimo Airport to Resort & 15 minutes from Campbell River Airport).
Budget Car Rental: 1-800-268-8900 or 250-754-7368.
National Car Rental 1-800-387-4747 or (250) 923-7278
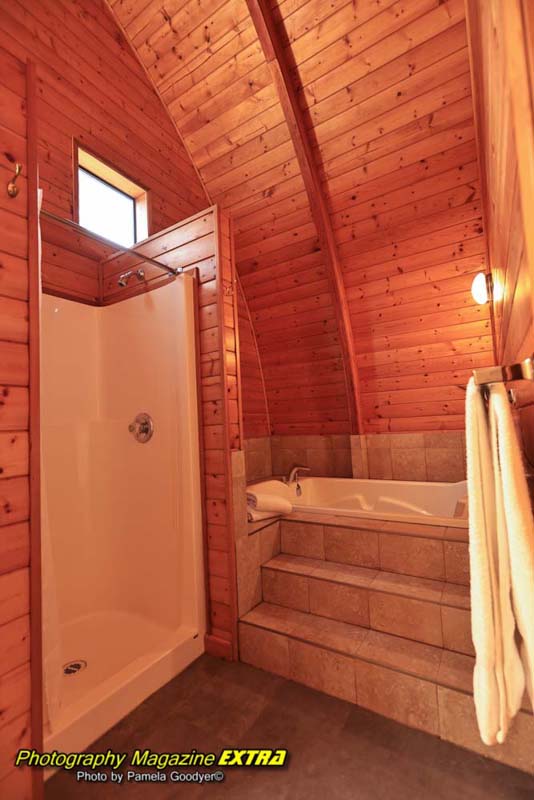
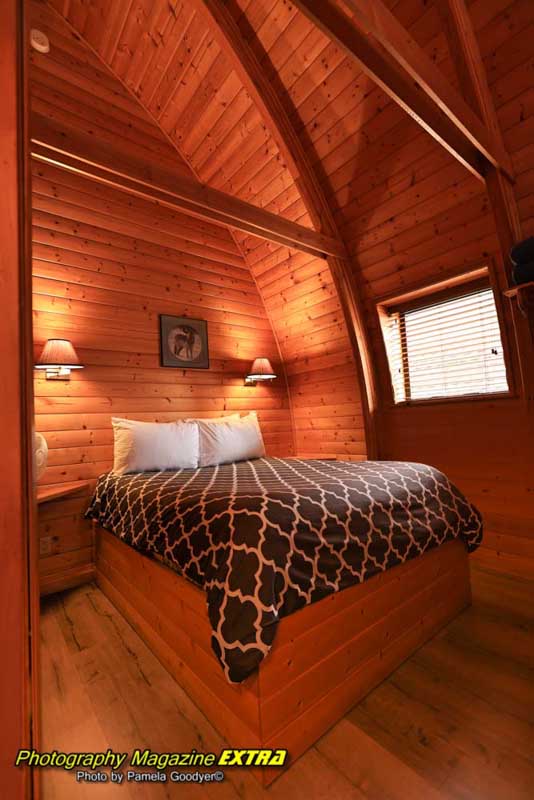
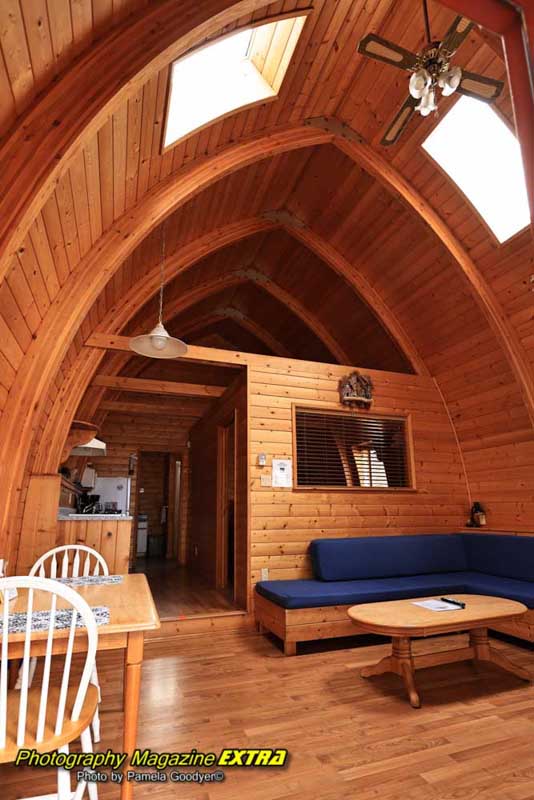
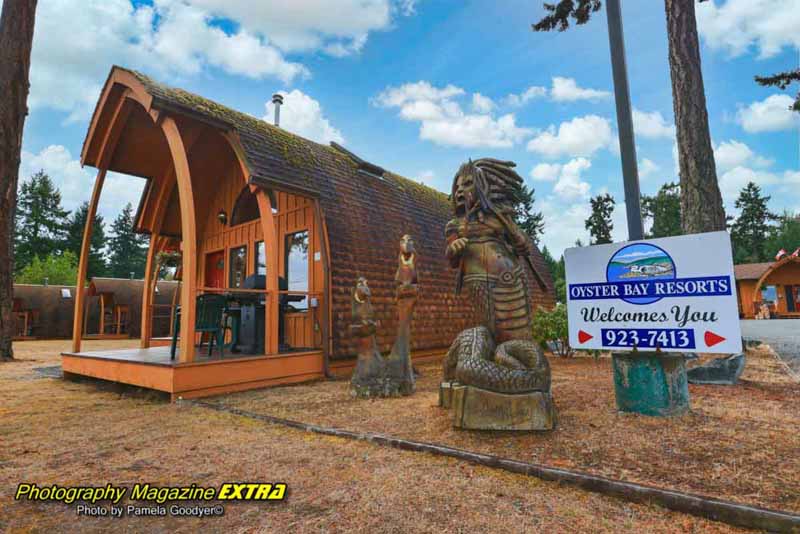
WHERE TO STAY
The Oyster Bay Resort! Check out the pictures and details below. We highly recommend staying at this location. SEE PICTURES AND DETAILS BELOW.
OTHER PHOTOGRAPHY NEARBY
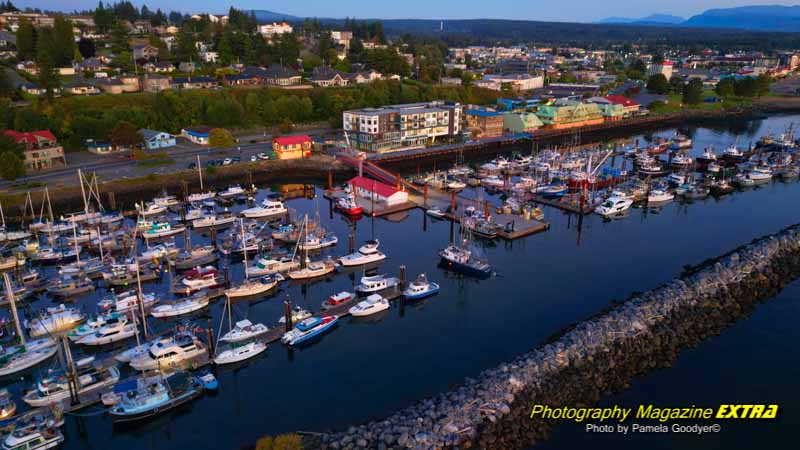
Nestled in the center of downtown Campbell River lies Fishermans Wharf, a bustling area home to popular attractions such as the Discovery Fishing Pier, Maritime Heritage Centre, Campbell River Museum, and Discovery Passage Aquarium. We got a great shot there. Sunrise is incredible when the weather is right on the pier facing the sun in the morning.
HOW BUSY DOES IT GET?
Book your grizzly bear tour well in advance!! Book it for two days if it is rainy if you can afford it. But don’t book them two days in a row. We were exhausted at the end of the day after the grizzly bear photography, and we were in great shape.

PHOTOGRAPHY BASICS
Brush up on the basics.
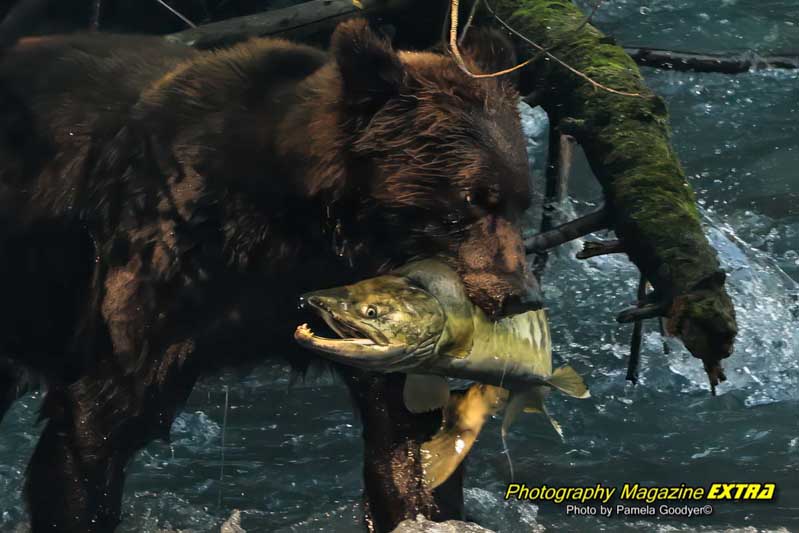
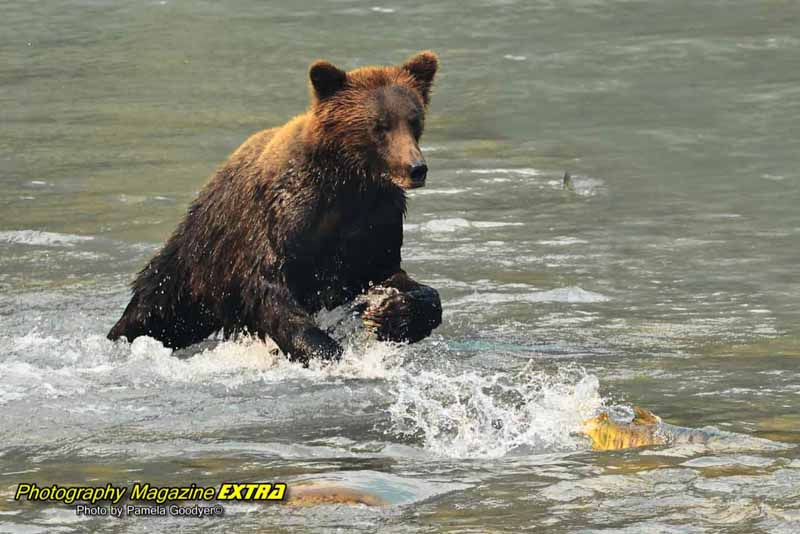
Shutter Speed – You will shoot in shutter priority when doing grizzly bear photography. Find out more about how to shoot in shutter priority by following the link if you need to. Shutter speed should be at least 1/1000th. If it is sunny, go even higher. When the bears run and slam on the poor fish, you can catch the droplets in great detail if you are 1/1000, 1/1200, or even higher if you have enough light.
Aperture – When shooting in shutter priority, the camera will pick the aperture for you to balance out the exposure.
ISO – This controls how much light is let into your camera when exposing your picture. When you have a lot of sun photographing the bears you will be around 100 ISO. When the bears go into the heavy shade, you may have to go higher.
White Balance – Color temperature. Cloud, shade, or sun, for photographing the bears.
MILKY WAY PHOTOGRAPHY
If you are looking for a breathtaking Milky Way photography spot in Canada, look no further; Campbell River and the surrounding area have dark skies. This location offers stunning night sky views, and with a bit of planning, you can capture some truly incredible images.
1. Plan your shoot around the moon cycle—The moon’s brightness can wash out the Milky Way in your photos, so it’s best to plan your shoot for when the moon is not visible or is in its new moon phase. Here you can find more details.
We plan our Photography Tours around when the Milky Way is visible.
2. Arrive early to scout out the best shooting locations–It’s a good idea to arrive well before sunset to have time to find the perfect spot for your photos if you are not going on our tour. This side of the island does not face the water with the Milky Way, so it’s hard to find locations. On the other side of the island, it’s straightforward. Stand on the beach and face the Milky Way. The Campbell River side is the opposite. Our photo tour takes us to the other side of the island so that we will get great Milky Way shots.
3. Use a tripod—Night photography requires long exposures, so a tripod is essential for keeping your camera still and ensuring sharp images.
4. Set your camera to manual mode—This will give you complete control over your camera’s settings and allow you to experiment to find the perfect exposure for the conditions. See more details below.

The Oyster Bay Resort
")

HOW TO SHOOT MILKY WAY PHOTOS
What you will need:
Light pollution map – light pollution map
Camera – You will need a camera to manually control your ISO, shutter speed, and aperture.
Lens – A fast wide-angle lens of 1.4 – 2.8 is ideal. If you use a 3.5 or higher (slower lens), you must increase the ISO. The higher the ISO, the more grain or digital noise or grain in your photos.
Tripod – A good, sturdy tripod is essential for night photography. If it gets windy, you will need a sturdy one. Remember that when you buy one, it should be sturdy enough to withstand the wind but small enough to fit in your suitcase.
Sky Map – Sky Guide is $ available through the iTunes Store for $1.99. It has a 5 out of 5-star rating on both the current (3.2) version (1200+ ratings) and all previous versions (8600+ ratings).
Flashlight – Our choice is Coast brand for flashlights. The ideal flashlight will have high lumens, and you can zoom in and out on the amount of light emitting from the flashlight. Get the HP7, PX45, or the G50. Ideally, go with the HP7.
Moon Phaze Map – The best time to go is during a new moon, and you want to be in the darkest area possible. The week before the new moon, when the moon has not risen, is a perfect time to go, so check the moonrise chart to see when the moon will be up.
Remote Shutter Release – When painting with light and you want to go over a 30-second exposure, you must have a shutter release to use your bulb mode. When exposing your pictures in general, you can use the remote release or your camera’s built-in two-second timer.
CAMERA SETTINGS
ISO:
Start with ISO 1600 – 3200. This is a common starting point, and you will adjust from here.
FOCUS:
Use live view. Use your camera’s live view to focus in the dark, hit the zoom button, and focus on a bright star. You can also use the infinity setting on your lens but do several test shots to determine accuracy. It can be off a little on some lenses. You can also light it up with a flashlight, focus, then gently, without touching the focus ring, put the camera in manual focus so it will not search for the focus. You must do this each time you move your camera to take your next angel.
SHUTTER SPEED:
Remember, the earth is rotating. If you leave the shutter open for too long, you will see star trails that will not make for a crisp image. We want crisp, non-star trail images. Here is the formula to avoid star trails—the 500 rule – Divide 500 by the focal length of your lens. So, if you have a 24mm lens on a full-frame camera, you will set your shutter speed to 20 sec. (500/24 = 20.83). If you are using a crop sensor camera, first do the math of the crop sensor to find the focal length. Cannon is 1.6, and Nikon is 1.5. Convert to full-frame focal length, then use the formula. Nikon 18mm x 1.5= 27mm – 500/27 = 18.51 seconds.
APERTURE:
Depth of field isn’t critical in these shots, but letting the light into the camera is; therefore, you should shoot wide open. If the depth of field is essential to you, try not to go too high. (wide open =the lowest aperture your camera will allow). You will have to increase the ISO some, giving you digital noise.
WHITE BALANCE:
Use live view mode to change your white balance settings and see what it will look like. You can shoot in shade or cloud mode as a standard setting and adjust things later.
AREA INFORMATION

AREA INFO
There are no fees to visit the Campbell River area, but the boat fees to get to the grizzly bears start at about $500.00 a trip. We do two trips on our photo tour.

HOTEL INFO
Oyster Bay Resorts
4357 South Island Highway (19A)
Campbell River, BC,
Canada V9H 1B7
4357 South Island Highway (19A)
Campbell River, BC,
Canada V9H 1B7
Reservations
1-888-518-9555
Tel: (250) 923-7413

CAMPING
Add Your Campground Here
Do you want us to send our photography and ghost-hunting friends to your campground? Put your campground information here. We will put a picture of your establishment, the website link, the phone number, and the information on your campground to make it easy for our photographers and ghost hunters to find you.
Would you like to be featured in an article as a place to stay while doing photography or ghost hunting? If so, please send us an email. You will be surprised at how affordable our prices can be.

FOOD & DINING
Add Your Restaurant Here – Easy and Affordable
Do you want us to send our photography and ghost-hunting friends to your restaurant after doing photography? Put your restaurant information here. We will put a picture of your establishment, the website link, the phone number, and the information on your restaurant to make it easy for our photographers and ghost hunters to find you.

WEATHER
Don’t forget that you can use a rain sleeve on your camera if it is raining. If it is bright and sunny, you want to use a low ISO such as 100.
If you are doing photography along with your ghost hunting on cloudy days, you can do running water or waterfall photography to avoid the glaring sun. You can also use an ND filter to get a long exposure for dramatic effects, even in the sunshine. If you ghost hunt indoors in abandoned places, be careful!
Go to our Photography Store after reading all about waterfall photography or neutral density filters.
Photography Lessons
 Photography, Lessons, Workshops and Classes.
Ghost Hunting

Photography Contests


