Introduction to White Balance
Auto White Balance does not work very well on most cameras. There are only a few that are close and setting your white balance is always best.
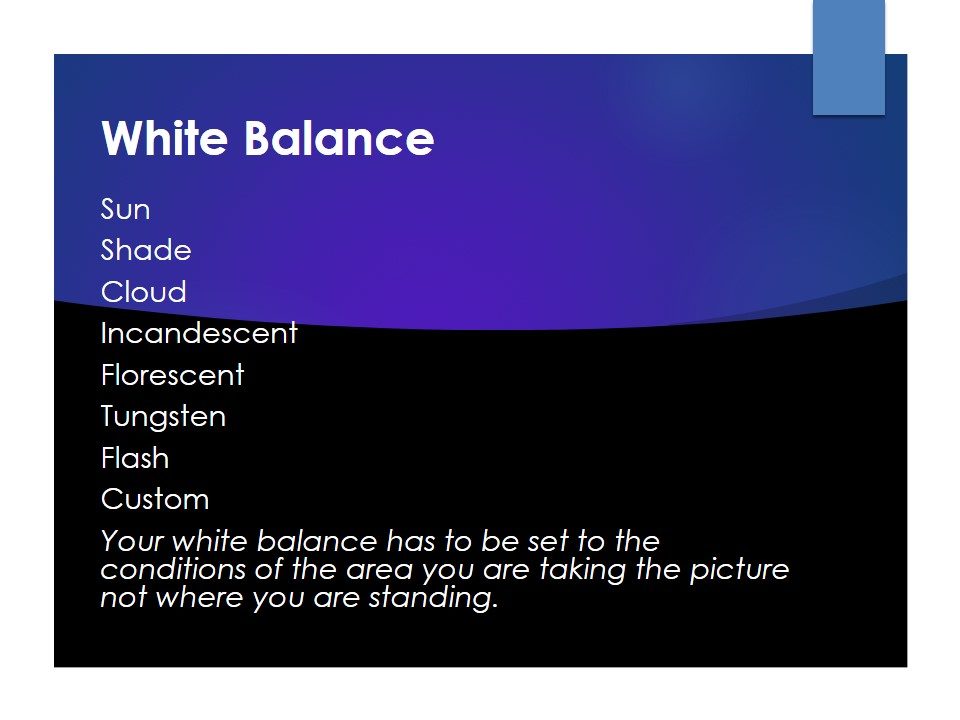
The white balance tells your camera what color temperature to use. We won’t get technical. The basic rule is to match the white balance to your surroundings. If you are outdoors in the sun, put it in the sun setting. If you are in the shade or cloudy, place it in the shade or cloudy mode. If you are in the wrong setting, your pictures can look too blue, green, etc. You have to match your atmosphere. If your subject is half in the sun and half in the shade, you can only pick one or the other. You can’t choose both. It is pretty easy to get the White Balance right.
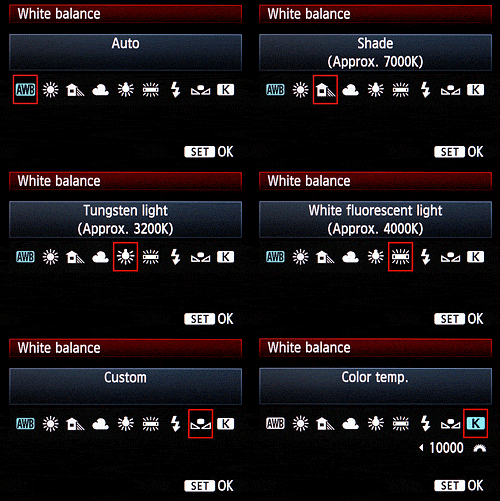
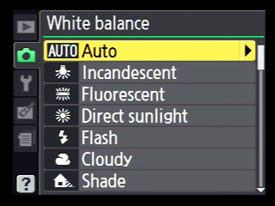
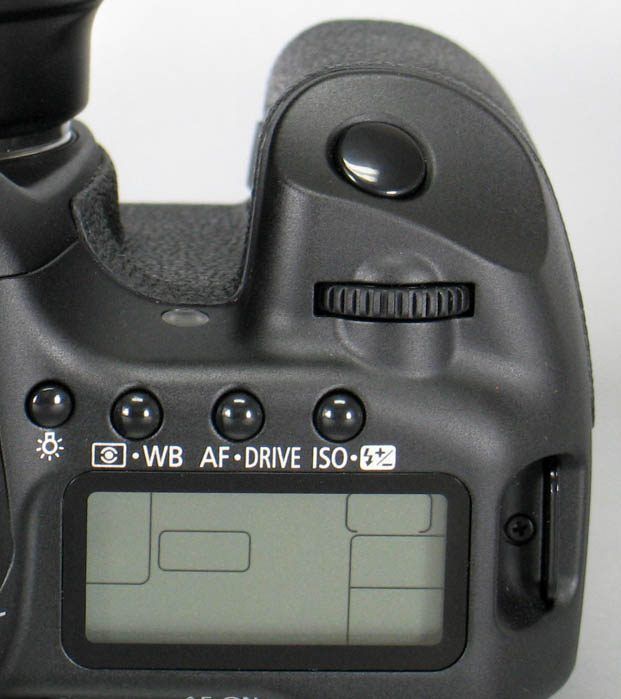
Most DSLRs have an exterior setting for white balance on the outside of the camera. Look at the outside of the camera body for WB. Click this, and a menu should show the main settings. If you don’t have an exterior button, see where to find it in the camera’s main menu below.
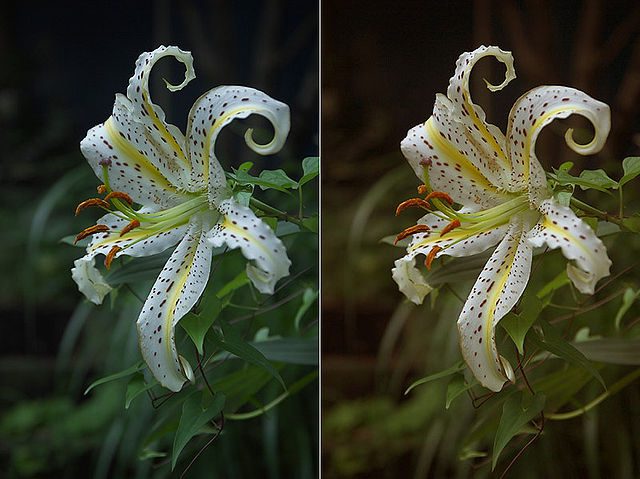
WB controls the Color Temperature
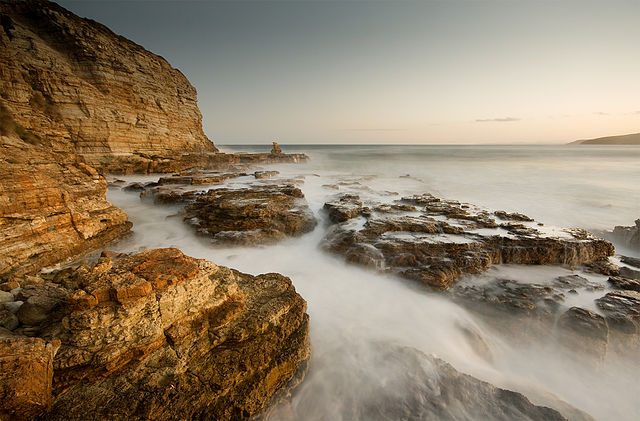
Right image> – “Clifton Beach 5” by JJ Harrison (jjharrison89@facebook.com) Was done with a warm white balance for an enhanced effect. Although some love editing photos, especially when using Corel software, you should know how to shoot the correct color temperature. Here is how.
Where is the White Balance (WB) setting?
Finding the White Balance or WB on your camera is easy. For some cameras, you must go into the menu on the back, usually the first or second. Click white balance. Match sun, shade, clouds, or flash for now. Tungsten, fluorescent, and incandescent are used indoors without a flash. Ignore these for now and read up on custom white balance in our level II section.
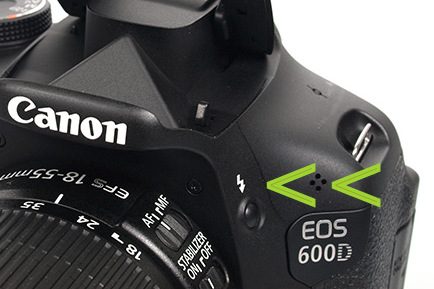
Let’s get the basics down first. For now, when indoors, use your flash and put your white balance on the flash. Yes, every time your surroundings change, you will have to change this. Get into the habit of changing your white balance every time you pop up your flash or put it down. Look at the top area of your camera for the lightning bolt image with a button next to it. This is where you pop up your flash. (see the green arrow in the picture below) It won’t pop up when not in auto mode. (Pro cameras do not usually come with a flash.) You have to click the button to pop it up now. Soon, you will head over to Shutter Speed or Aperture to learn about getting out of auto mode, which is the next step after we finish white balance. Just get used to where the settings are. Remember where to find your white balance in your camera. You will change it often.
Photo done with 2 different White Balances
Each camera has the WB button in different locations. Search the whole camera for the WB button and that is your short cut straight to white balance. If you do not have one you have to go into your menu.
Our staff uses Think Tank Camera Bags
We don’t go anywhere without our Think Tank Camera Bags. Special offer!
If your menu goes blank or times out, click the shutter speed halfway down to wake up the camera and see the settings.
Homework: Go outside in the daylight. Take the same picture in sun, shade, cloud and flash. See the color change. You must read our shutter speed page to get the camera set to take the pictures.
Now that you have White Balance down head to our shutter speed or aperture page. Shutter speed and aperture are the necessary foundations of photography. We will keep it simple for you. Ever wonder why your images are blurry in auto mode? Your camera doesn’t know your subject is doing 30 m.p.h. and cannot adjust for it. Here is where you learn to tell the camera what to do. That is why shutter speed is important to master.
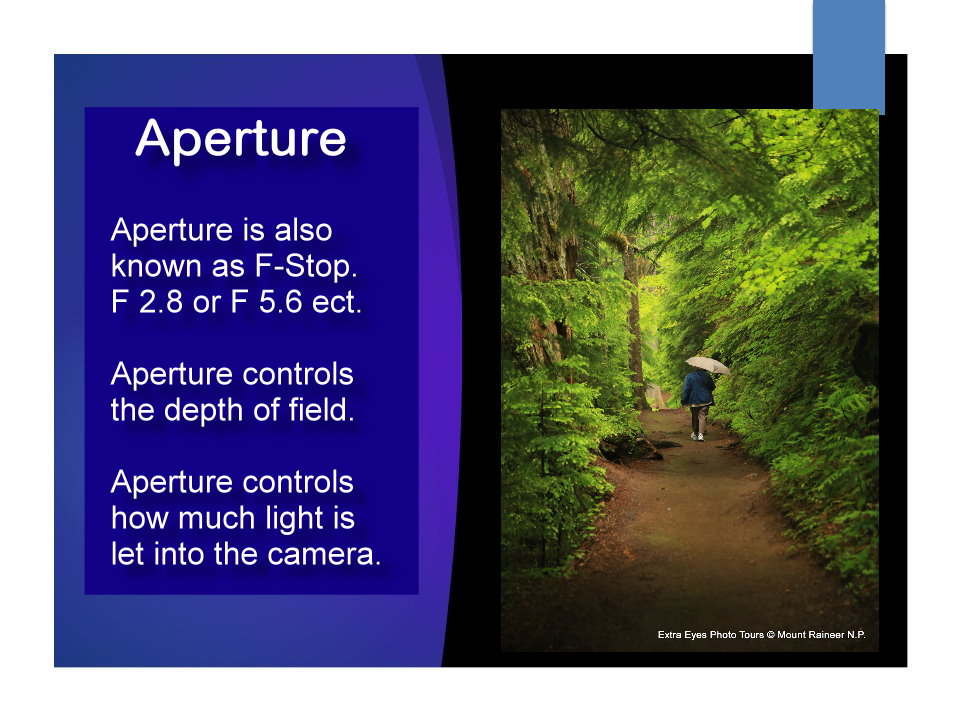
On the other hand, the aperture determines how much light comes into the camera and your depth of field (How much of the picture is in focus or background blur). It’s often used to get the blurry background effect in macro and close-up photography. Start on either one. They are equally important.


 Photography, Lessons, Workshops and Classes.
