SETTING UP YOUR WATERFALL PHOTOGRAPHY SHOT
STEP 1: PUT YOUR CAMERA ON A TRIPOD
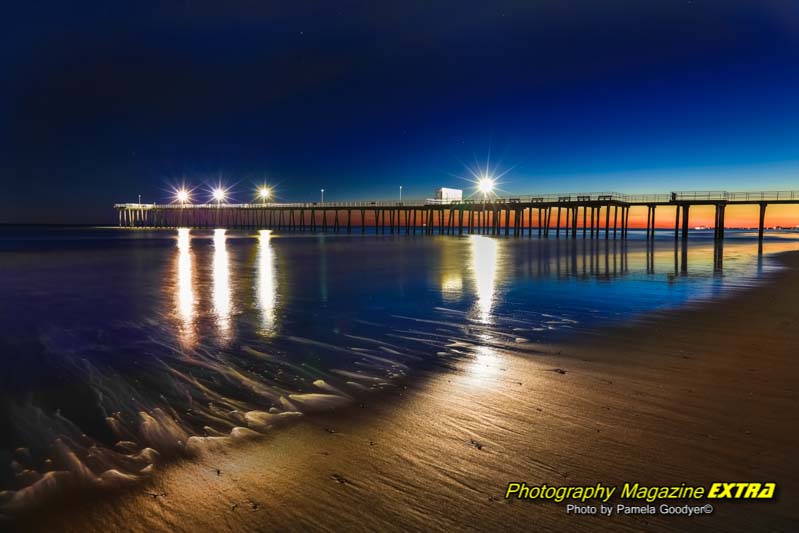
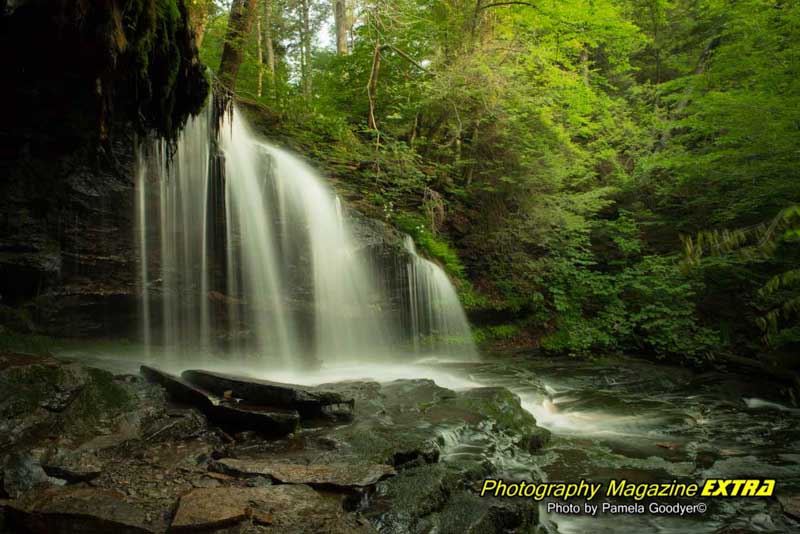
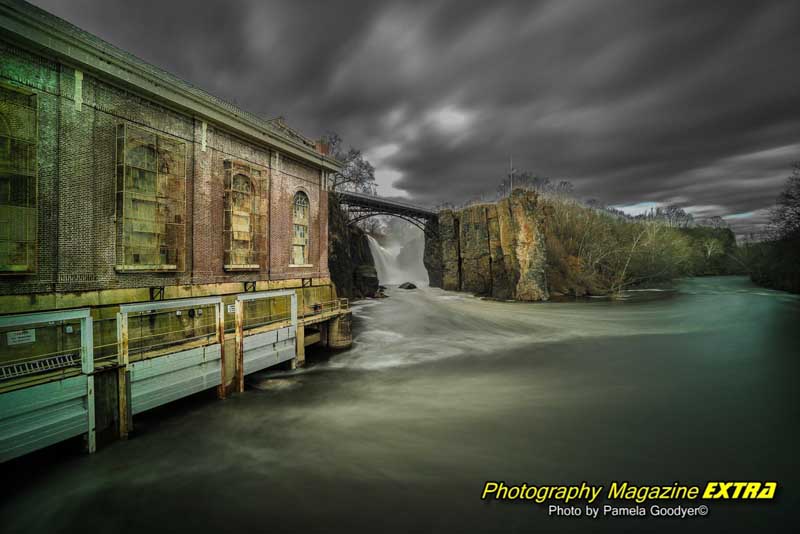
You must use a tripod to achieve silky water effects in your photograph. This is called long-exposure photography. Whenever you keep your shutter open for more than about 1/50th of a second, you must be on a tripod, or you will get one big blur.
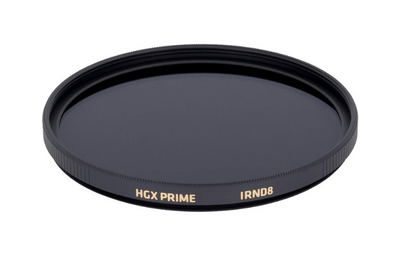
STEP 2: PUT A NEUTRAL DENSITY FILTER ON
Even on a cloudy day, you will want to use a Neutral Density Filter. It’s like sunglasses for your camera. You can do more prolonged exposure, making the water movement silky. The darker the ND Filter, the longer you can expose it. A ten-stop ND is the darkest one. We like the Promaster ND ten-stop and Tiffen filters.
STEP 3: SET YOUR CAMERA TO MANUAL MODE
You will want to control both the shutter speed and the aperture. Manual mode allows you to do this. Most cameras use the letter M for manual mode.
STEP 4: SET THE APERTURE
Set the aperture to the smallest one (most will be f/22, some f/29). This will allow the least light to enter the camera, allowing you to do the longest exposure possible.
STEP 5: SET THE ISO
Set your ISO to 100 or the lowest your camera will allow. Some cameras go as low as 50. Like the aperture, we are trying to block the light from coming into the camera so we can do a long exposure of at least two seconds or more.
STEP 6: SET THE SHUTTER SPEED
Now, looking through the camera, roll the shutter speed using the main dial so the exposure level indicator goes to ‘0’ on the exposure scale at the bottom of the screen. Without a filter, you may not get lower than 1/15th sec. or even that low on a sunny day. This is why a neutral density filter is so important.
Step 7: SET YOUR 2-SECOND TIMER
Instead of using a shutter release, you can utilize a timer to take the photo. This ensures that when you press down on the button to take the image, you won’t cause any camera shake or blur. The 2-second timer is a setting on your camera under the Drive Mode section. You will see continuous shooting, single shooting (or something similar, depending on the camera and 2-second timer.
That’s it. Once you do it several times, it’ll be effortless.
Evaluate the image. If your image has hot spots (areas of overexposed white spots), adjust your shutter speed and test again until it is just right. Remember, the darker the ND filter, the longer the exposure, and the milky flow looks better.
TIP: The longer the shutter stays open (1 second, 2 seconds etc.. the more light will come in.) If the image is hot, as explained, lessen the shutter speed to a lower amount. With a ten-stop filter, this will never happen. It may happen with a filter that is not as dark.
Review your images on your camera’s screen and zoom in to look for overexposed areas. You can always lighten them in the post, but you cannot fix blown-out, overexposed highlights. If you have overexposed images, use your exposure compensation to go down until they are no longer blown out.




 Photography, Lessons, Workshops and Classes.