WHERE TO DO MILKY WAY PHOTOGRAPHY
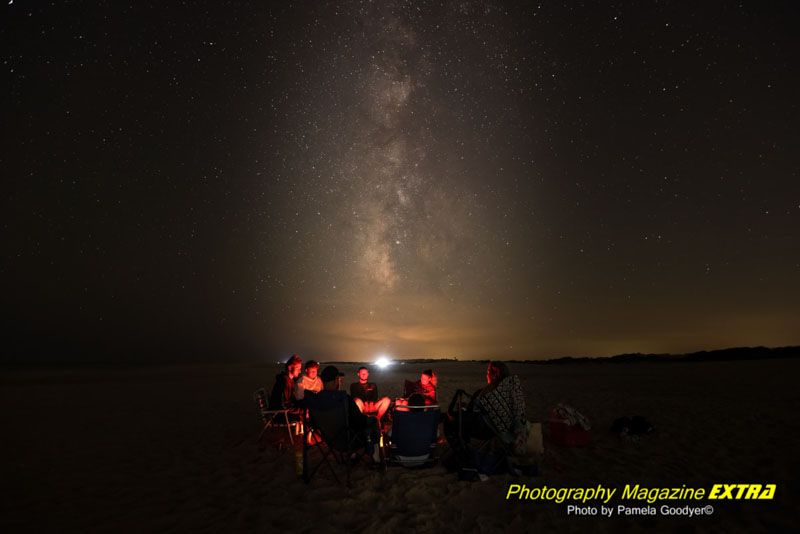
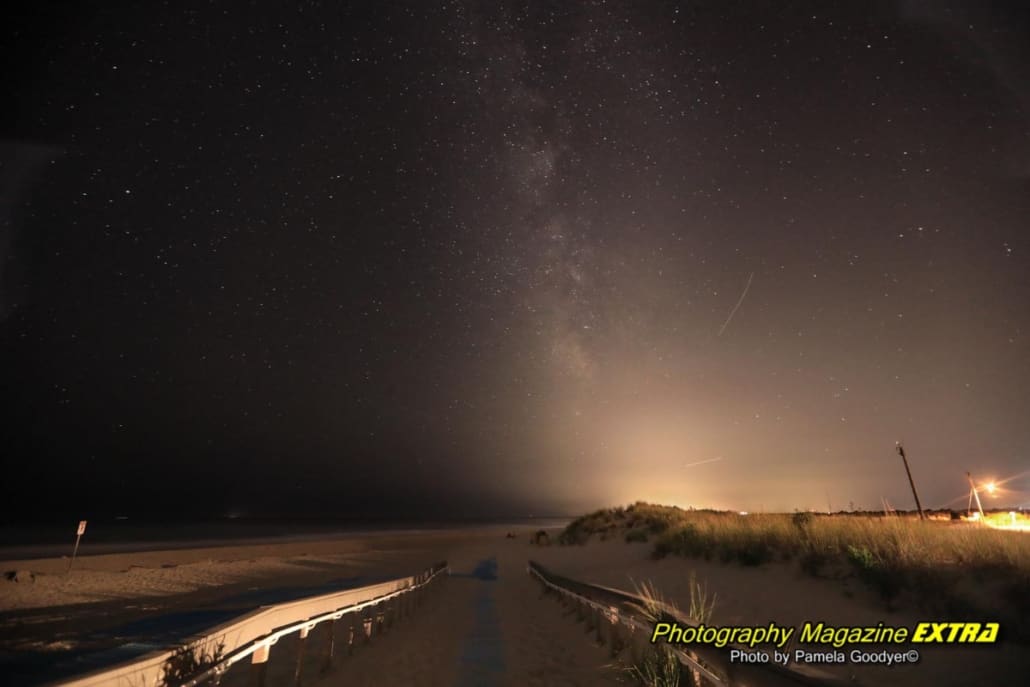
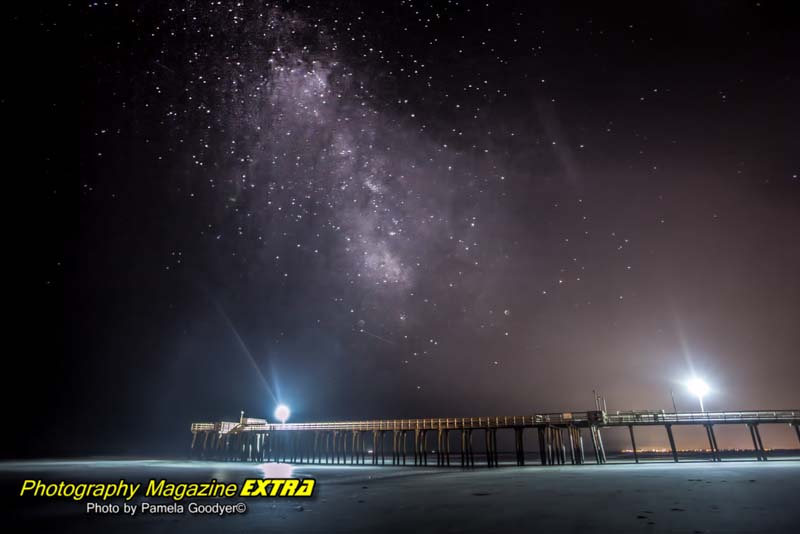
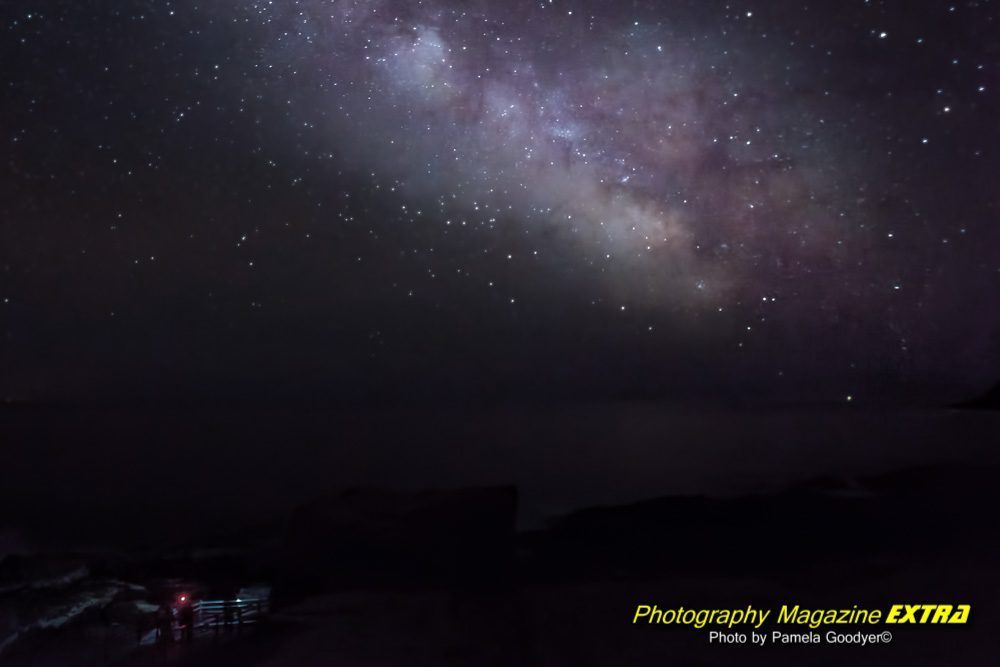
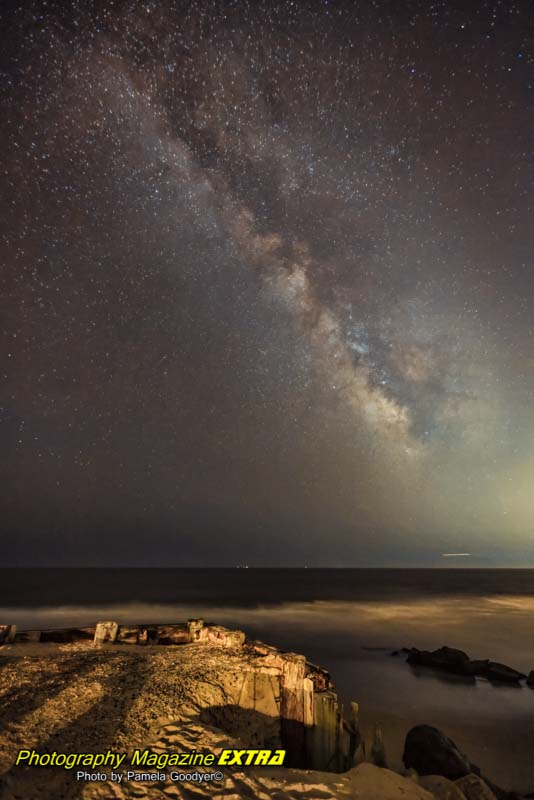
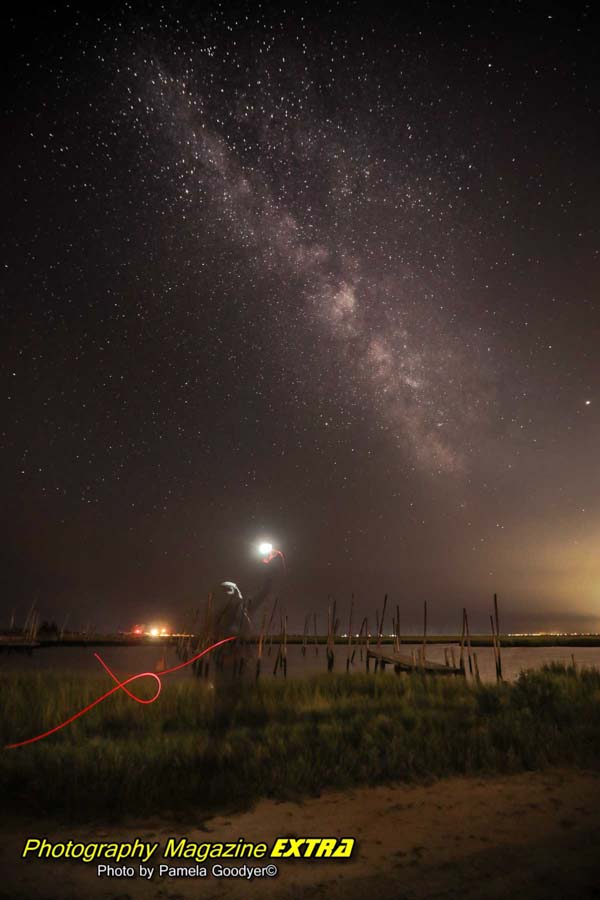
If you want to photograph the Milky Way, there are a few things you need to consider. You will need a location away from city lights. A clear sky with no moon in sight is ideal.
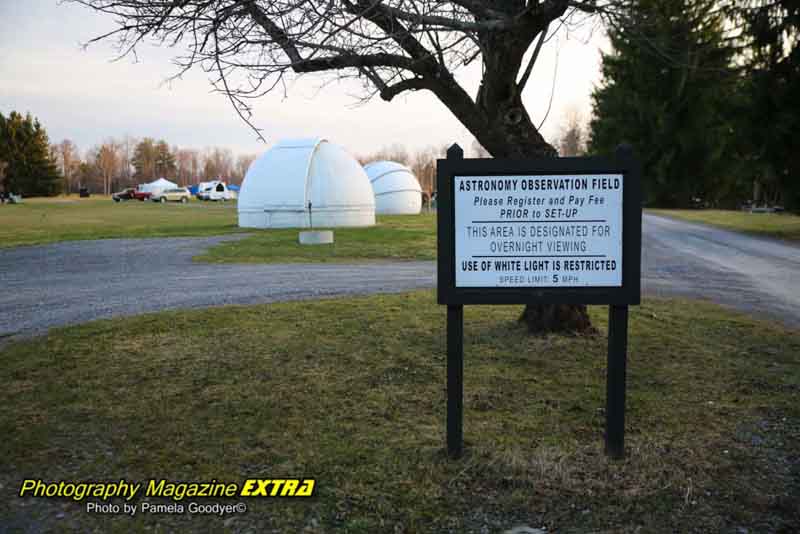
There are several ways to find a suitable location. You can use a light pollution map to find an area away from city lights. You can also look at the night sky for darker areas or check for national parks or wildland areas with dark skies. See more on locations below.
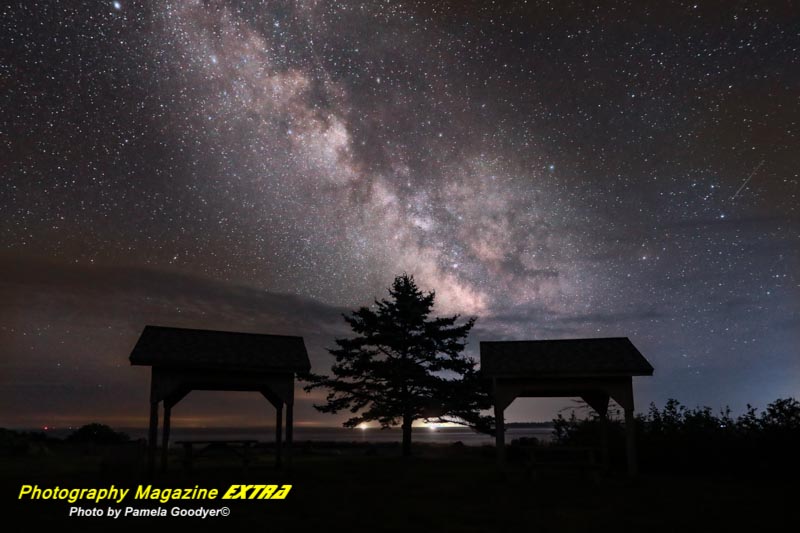
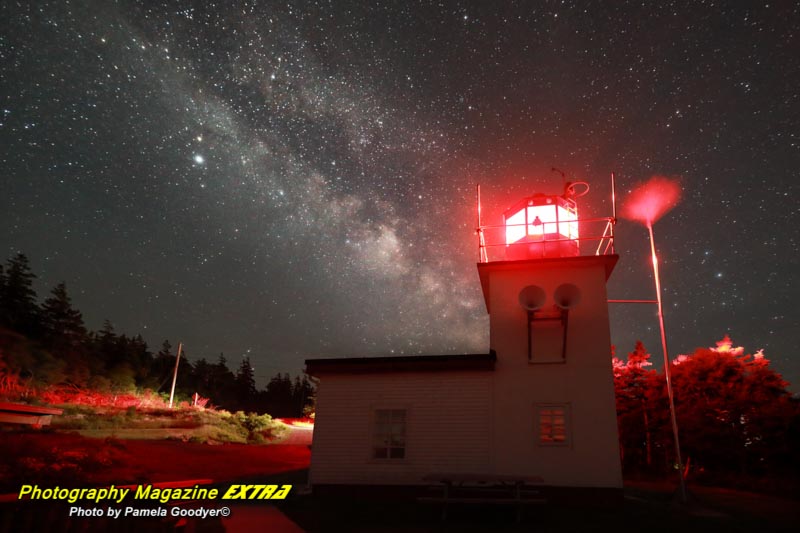
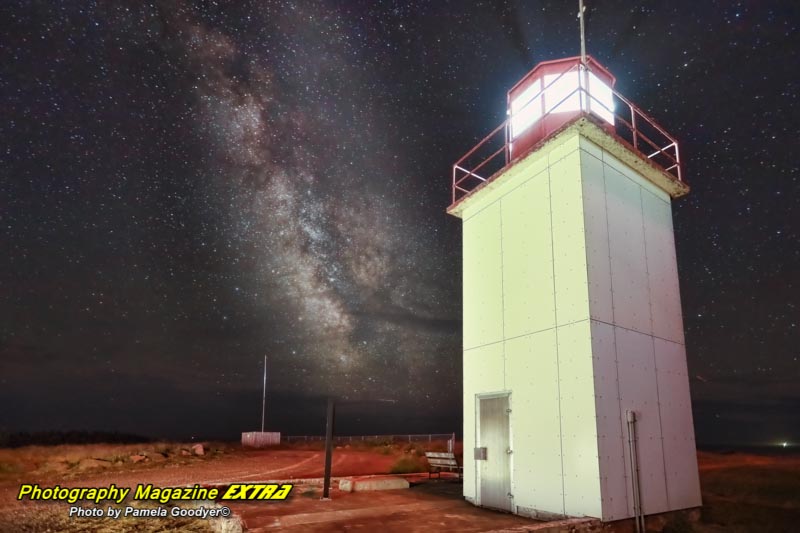
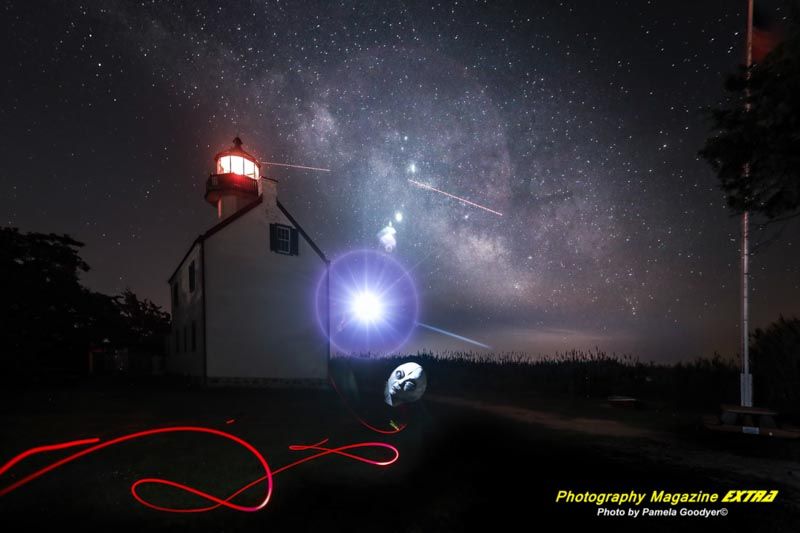
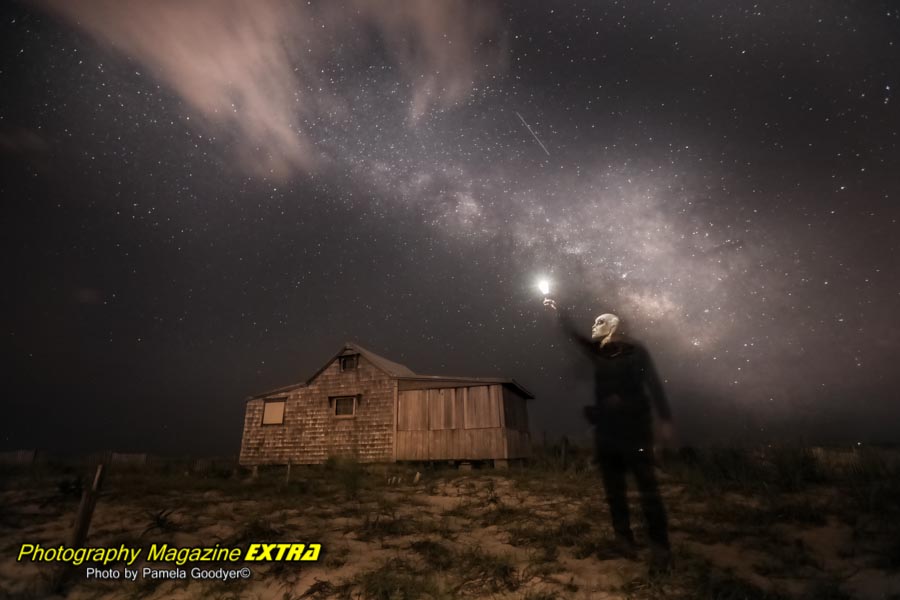
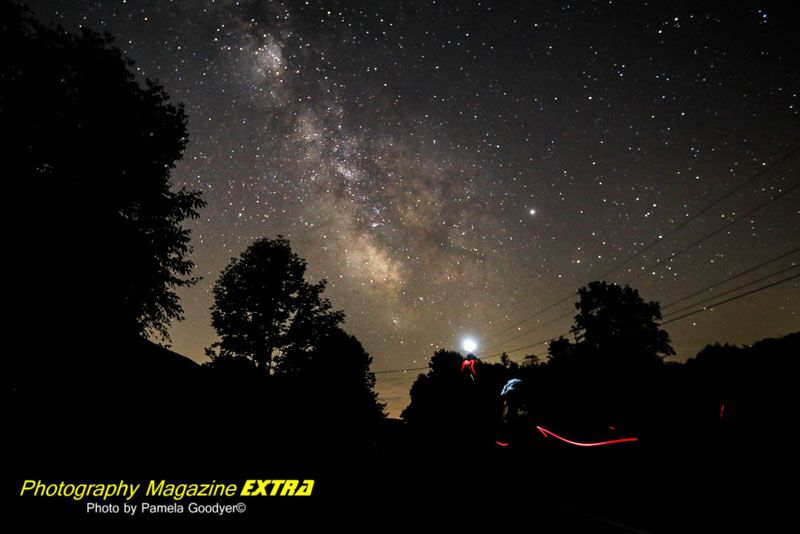
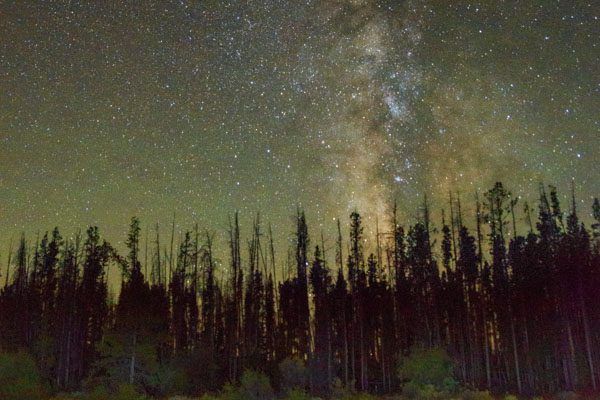
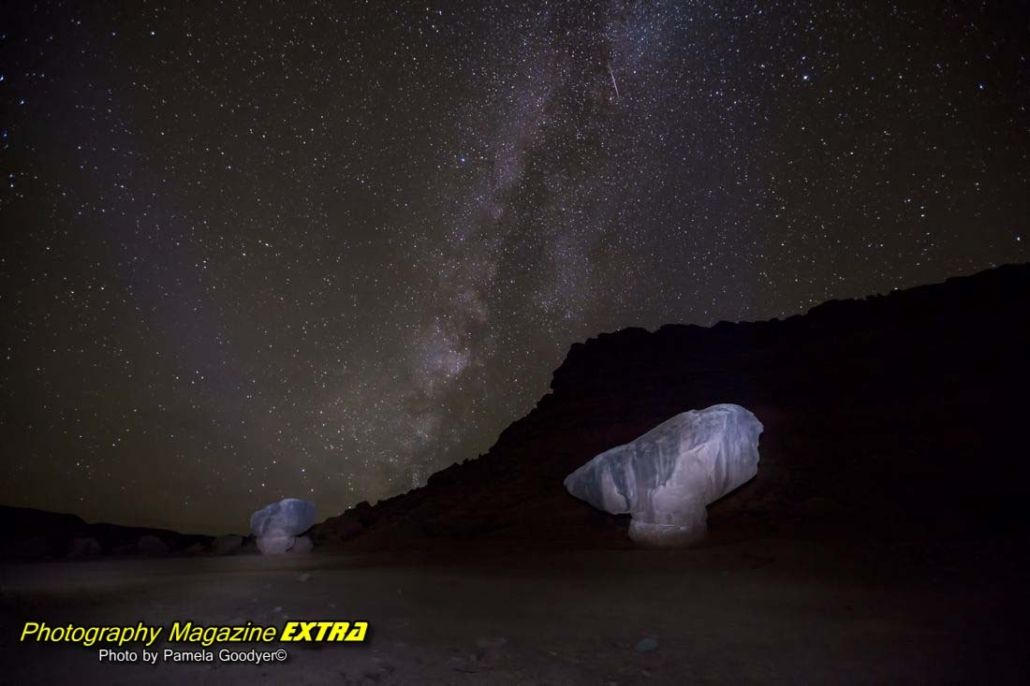
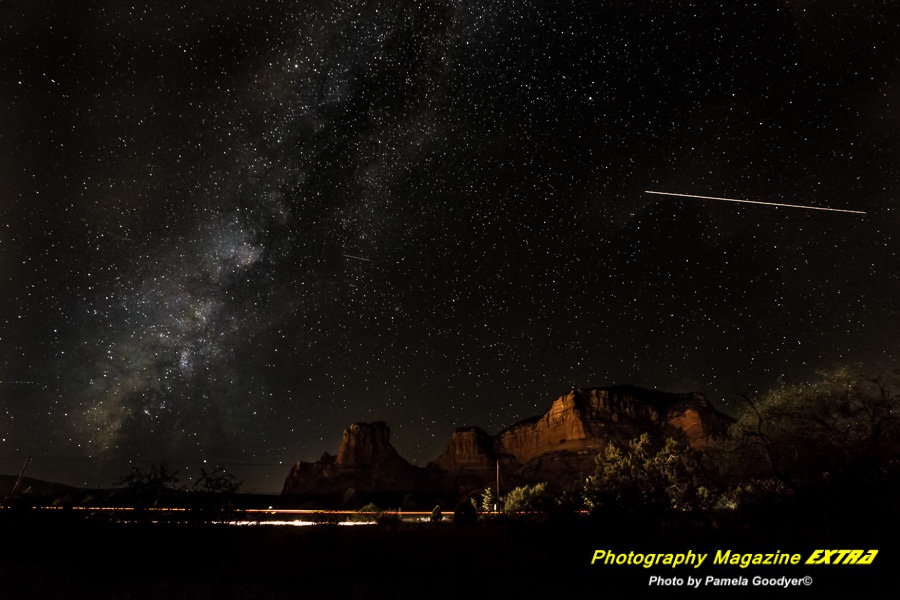
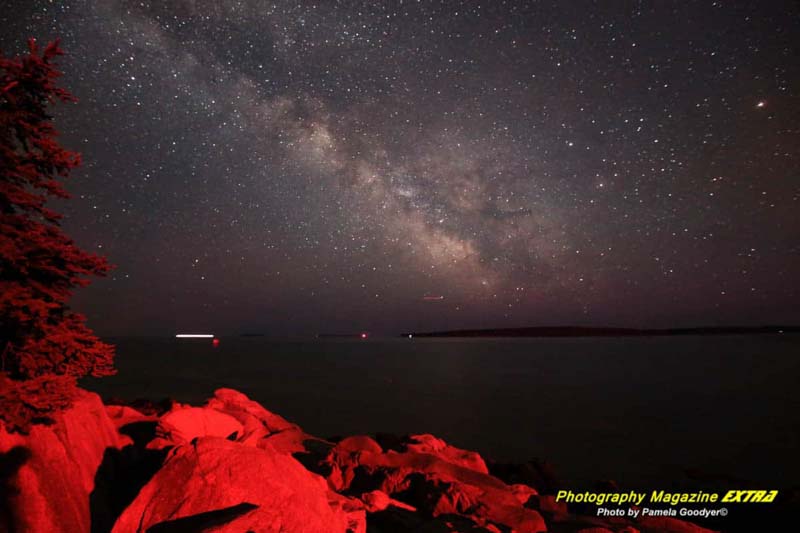
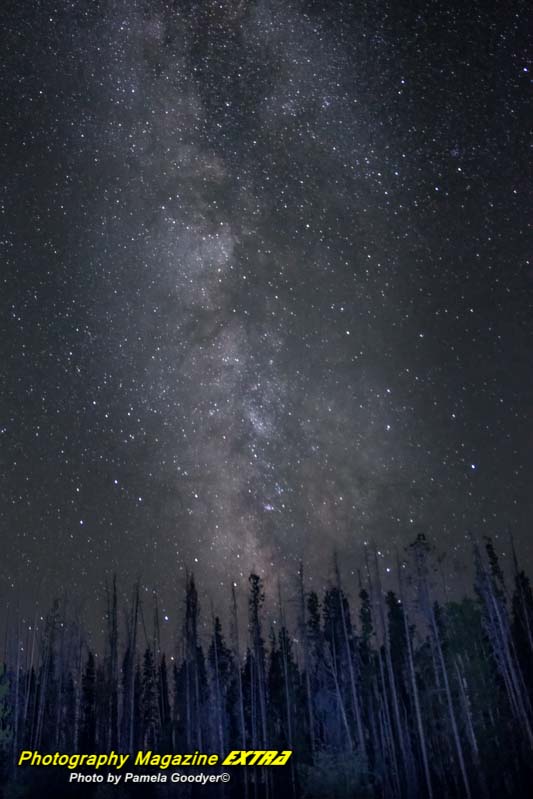
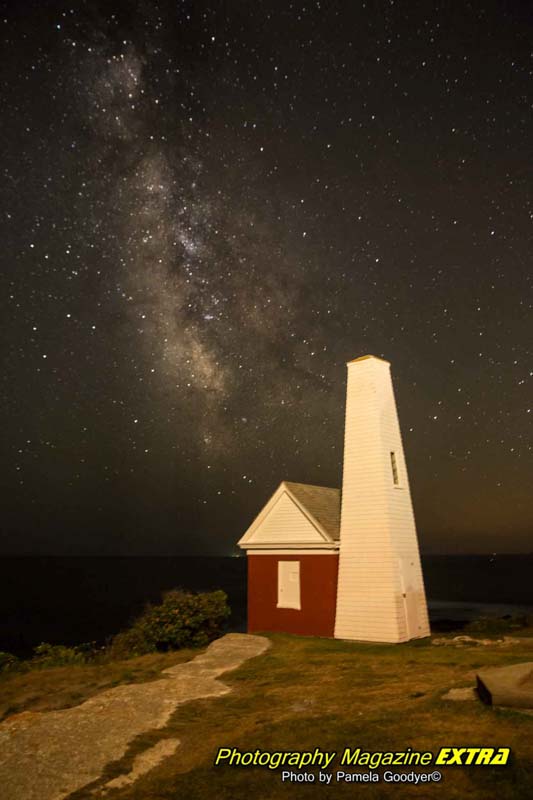
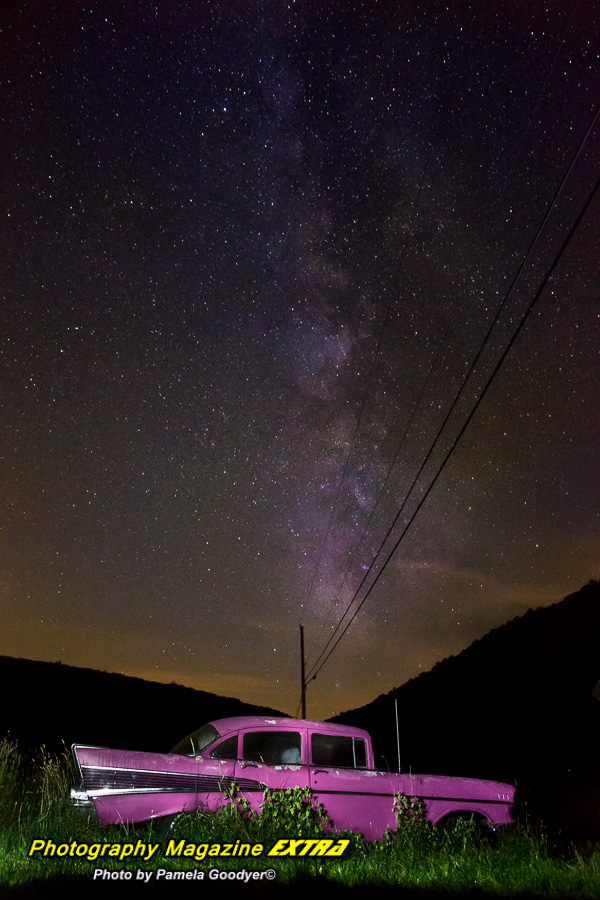
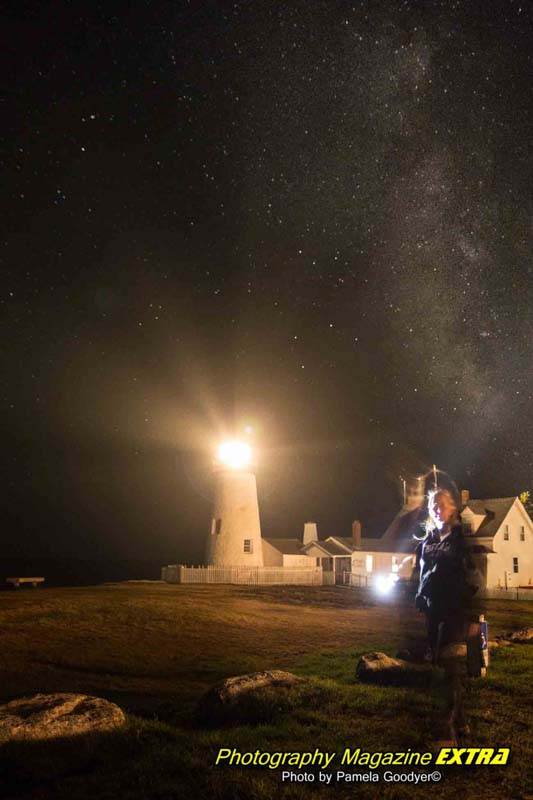
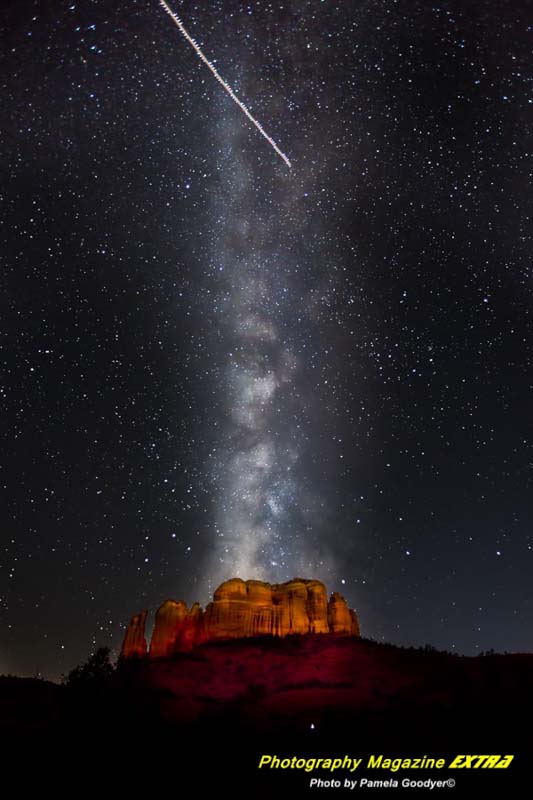
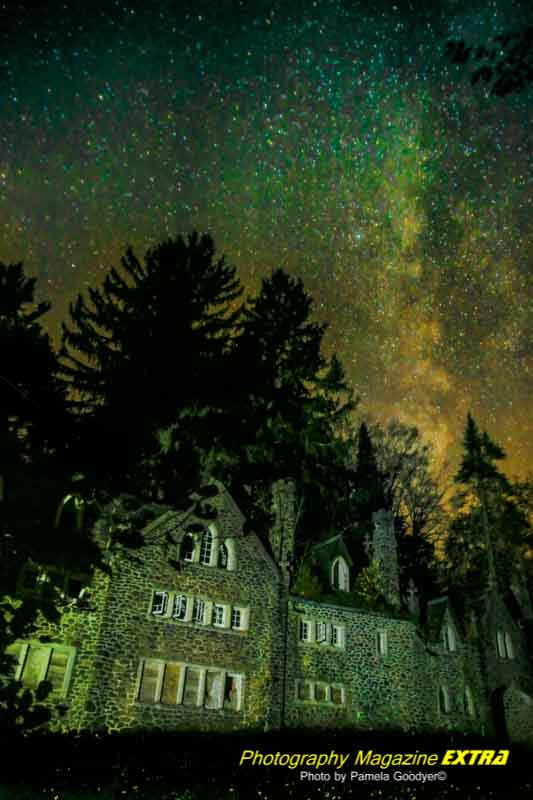
Once you have found a good location and selected your night, choose a subject against the Milky Way. Anything will work, but some subjects are better than others. Landscape photos with mountains, trees, balanced rocks, or unique rock formations work well.
When you have decided on your location and subject, the next step is to check the weather forecast. You want a clear sky with no clouds or rain. The night should also be calm, with little or no wind. If possible, look for nights when no moon is in the sky, giving you an even darker sky.
PHOTOGRAPHY GEAR FOR MILKY WAY
One of the most essential things for this type of photography is a DSLR camera with a full-frame sensor. This will give you the best image quality and low-light performance. You will also need a fast lens with an aperture of f/2.8 or wider. A wide-angle lens is also essential for capturing as much of the night sky as possible. Finally, you will need a tripod to keep your camera steady during long exposures.
Other helpful gear includes a remote shutter release (although today, cameras have a 2-second timer), an intervalometer, and noise reduction software. A remote shutter release or setting your 2-second timer allows you to take long exposures without touching your camera, which can cause camera shake. An intervalometer automatically lets you take a series of exposures, which helps create time-lapse videos or star-trail photographs. Noise reduction software can help reduce the amount of digital noise in your photos, giving you cleaner, sharper images. See more below.
POPULAR DARK SKY LOCATIONS
Some other popular locations include national parks, deserts, and mountaintops. Death Valley National Park in California is an excellent option because it has dark skies and an open horizon. The same can be said for Great Basin National Park in Nevada.
WELL-KNOWN NIGHT SKY PHOTOGRAPHY LOCATIONS
1. Death Valley National Park, California
2. Great Basin National Park, Nevada
3. Glacier National Park, Montana
4. Acadia National Park, Maine
5. Rocky Mountain National Park, Colorado
6. Big Bend National Park, Texas
7. Joshua Tree National Park, California
8. Cuyahoga Valley National Park, Ohio
9. Shenandoah National Park, Virginia
CHECK OUT OUR WHERE TO DO MW PHOTOGRAPHY IN N.J. PAGE


