MAINE TO FUNDY TRAIL, CANADA PHOTOGRAPHY
We personally traveled this route and brought you all the details you need for a successful trip.


We personally traveled this route and brought you all the details you need for a successful trip.
PLEASE SHARE
At my own expense, I offer all of this to you: a humble tribute to Mother Gaia. It is my hope that you will spread my art and message to others, uplifting and inspiring their souls.
May my works guide photographers illuminating their path toward creating stunning and impactful images that show the raw beauty and essence of life in all its transcendent glory. —Pamela Goodyer
THE BEST TIME TO GO
We like the Milky Way season the best. From summer or early fall until October, you can combine all these great spots with the Milky Way. Photographing the Milky Way is an incredible experience, and we highly recommend it.
HOW MUCH TIME TO PHOTOGRAPH
That depends on how long you’d like to stop at each spot, how deeply you want to explore, and how intensely you photograph. We like to photograph every little nook and cranny and explore in great detail, so we plan on spending more time at each stop than the average tourist. Look at the photographs and decide how long you want to stay at each location.
PHOTOGRAPHY GEAR TO BRING
The most important gear is your wide-angle DSLR and your tripod. There are many moving waters along this route, and you can use your tripod to set up your camera and get the milky water effects. You also want to have everything ready to do your Milky Way photography. A zoom lens is essential. There are whales, eagles, and different types of birds, so a zoom lens is a must.
WHAT ESLE TO BRING
If you’re in bug season, bring bug spray, a good pair of hiking boots, and some cold-weather gear. The temperature drops at night and can get quite cold.
HOW BUSY DOES IT GET?
We did not find it busy during our trip to this area. There were not a lot of humans around; it was just how we liked it. It was easy to find places to stay. But we went midweek. We always suggest going midweek when photographing tourist locations—and, of course, off-season, not during the summer rush.

We never did figure out what type of fish or whale photobombed us. Please email us if you know.
A top ten USA photography location
Start at Acadia National Park and travel up to Fundy Trail, Canada. Are you ready for a Maine and Canada Travel Photography Adventure? This is an incredible photography trip to take in the spring, summer, or fall months. We like summer best, so we can photograph our puffin friends.
Remember that our trip was in 2012, so some minor details may have changed.
Maine is the least densely populated U.S. state east of the Mississippi River. It is called the Pine Tree State; about 83% of its land is forested. It has several unique geographical features. Machias Seal Island and North Rock are off their easternmost points. Also in this easternmost area in the Bay of Fundy is the Old Sow, the largest tidal whirlpool in the western hemisphere.
We could not travel as far as Fundy National Park, but we highly suggest that you do not skip this location if you can.
Milky Way Photographers: The skies are some of the darkest on the planet. Try to plan your trip around the new moon.
One final tip. You will see one image where we had a dirty sensor. Can you spot it? If you live near Canon in Jamesburg, New Jersey, you can stop by and have your sensor cleaned in about an hour. You will see a circle in the images when dirt gets on the sensor. (Canon has now moved.)
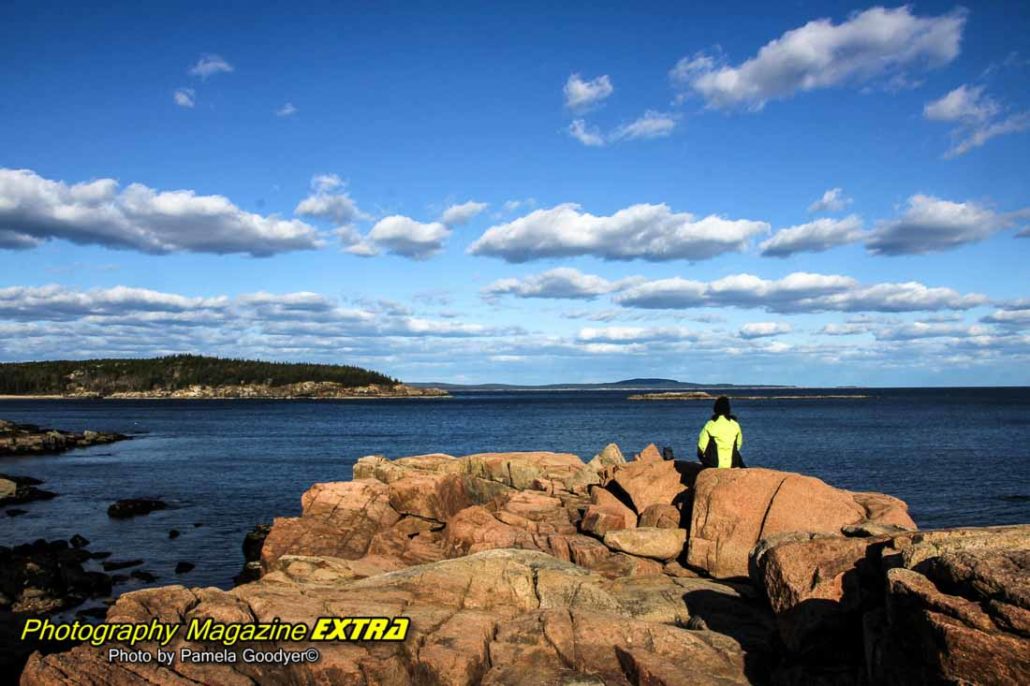
The first incredible photography location you must see is Acadia National Park. Plan on a good full three days to photograph this fantastic location. Plenty is still happening here if your family is with you and they are not photography buffs.
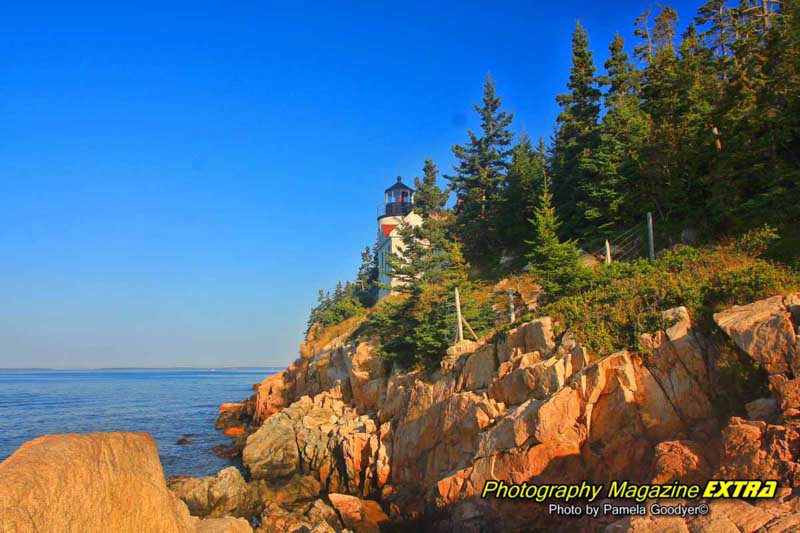
Acadia National Park is our second pick for a photography location on the continent. For more details, visit our Acadia National Park Photography Hot Spot Locations. Acadia – Jordon Pond – Acadia Thunder Hole – Acadia Bass Harbor Lighthouse – Maine Photography Hot Spots
Fees & Reservations: All entrance fees are valid for seven days. Everyone visiting Acadia National Park needs to pay entry fees, except visitors who are 15 years or younger; they can enter the park free of charge—fees for the park.
Don’t be fooled by the Acadia N.P. General information page. It has a moose on a web page. You shouldn’t plan on seeing any moose here. You have to go north for that.
The pass is only valid for entrance fees at Acadia National Park—$ 35.00 per vehicle.
All visitors at Acadia National Park must have and display a park entrance pass from their vehicle.
Fees are waived at Acadia National Park on the following days:


HOW TO GET THERE – BANGOR INTERNATIONAL AIRPORT
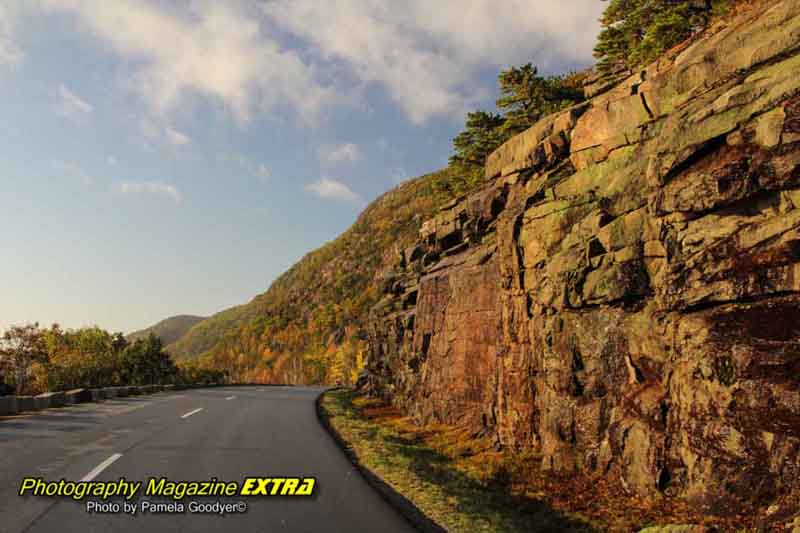
Bangor International Airport is 48 miles from Acadia National Park. You can rent a car and head out on your journey. You can also fly into Hancock County, Bar Harbor, Maine, but you will pay more. Plan on spending a few days in Acadia National Park to cover all the photography. We covered every last spot in four days. But we are obsessive photographers, staying in one place for hours. Be sure to do all of the islands. Route 102 goes around the west side of the aisle in a loop, and there are many spots along the way to photograph. This is the spot the sun hits first in the USA in the morning. You have to be somewhere on the east side of the park on the water for an incredible experience and photography. We sometimes use HDR for sunrises and sunsets.

PUFFIN TOURS IN MAINE
After Acadia National Park, head northeast to set sail on a puffin tour near Machias Seal Island. This is a great stop on your travel photography adventure!
Extra Eyes Photo Tours does a Photography Puffin Tour in Maine.

MACHIAS SEAL ISLAND
Machias Seal Island is an island in the Gulf of Maine, about (9.9 mi) southeast of Cutler, Maine. This area is a popular place to go on Puffin tours. The season starts in May and runs through mid-August. There is also a great lighthouse to photograph, which was constructed there in 1832.
WEST QUODY HEAD
Maine has almost 230 miles of coastline (and 3,500 miles of tidal coastline). West Quoddy Head is the easternmost piece of land in the lower 48. Along the famous rock-bound coast of Maine are lighthouses, beaches, fishing villages, and thousands of offshore islands, including the Isles of Shoals, which straddle the New Hampshire border. There are jagged rocks and cliffs and many bays and inlets. Inland are lakes, rivers, forests, and mountains.
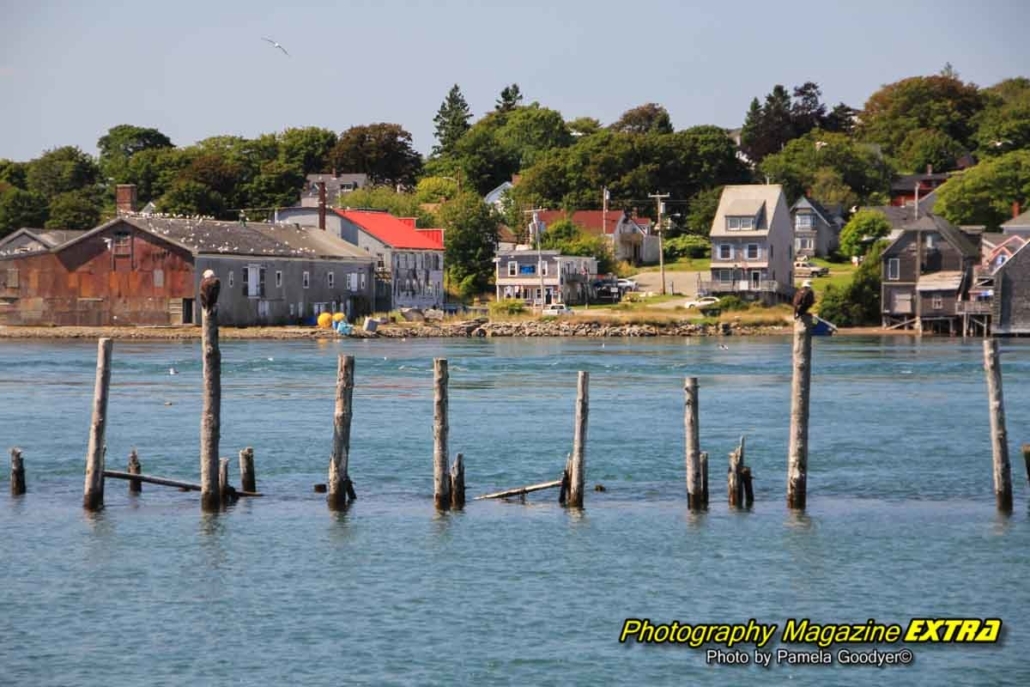
Lubec, Maine, is the easternmost town in the USA and home to The Quoddy Lighthouse – a must-see attraction. But that’s not all; take a quick trip over The Roosevelt International Bridge, and you’ll find yourself in Canada on Campobello Island. Here, you can explore two lighthouses and spot majestic eagles and whales. For the best experience, stay at Pollock Cove Cottages, run by a friendly family who will ensure you have the perfect sunrise photography spot. And don’t be surprised if you see nine eagles flying by in the morning!
A SUNRISE & SUNSET AREA
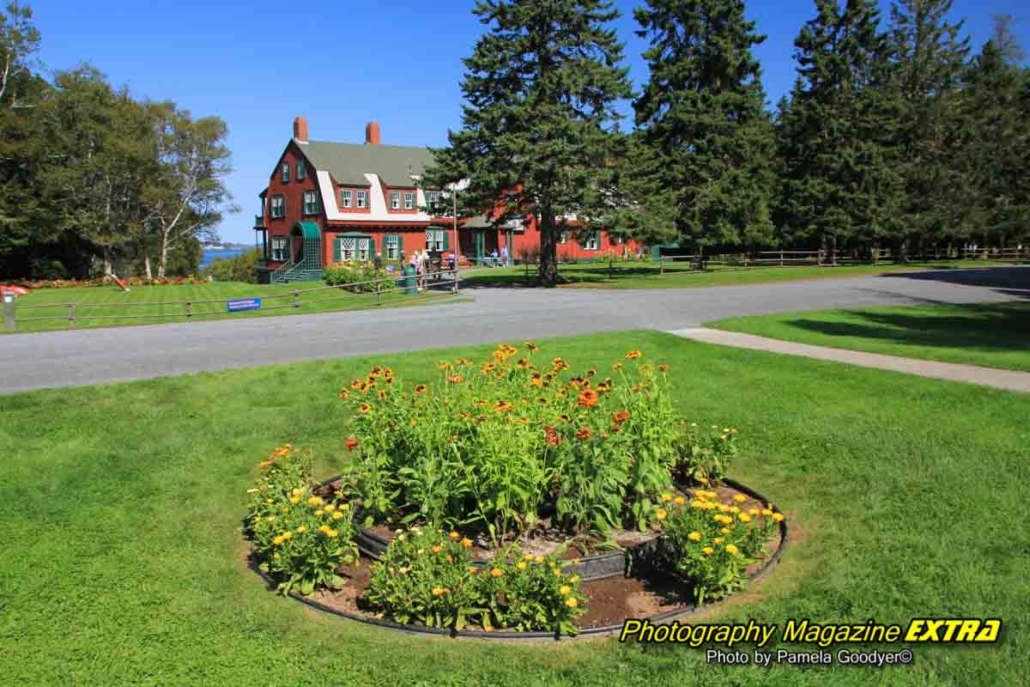
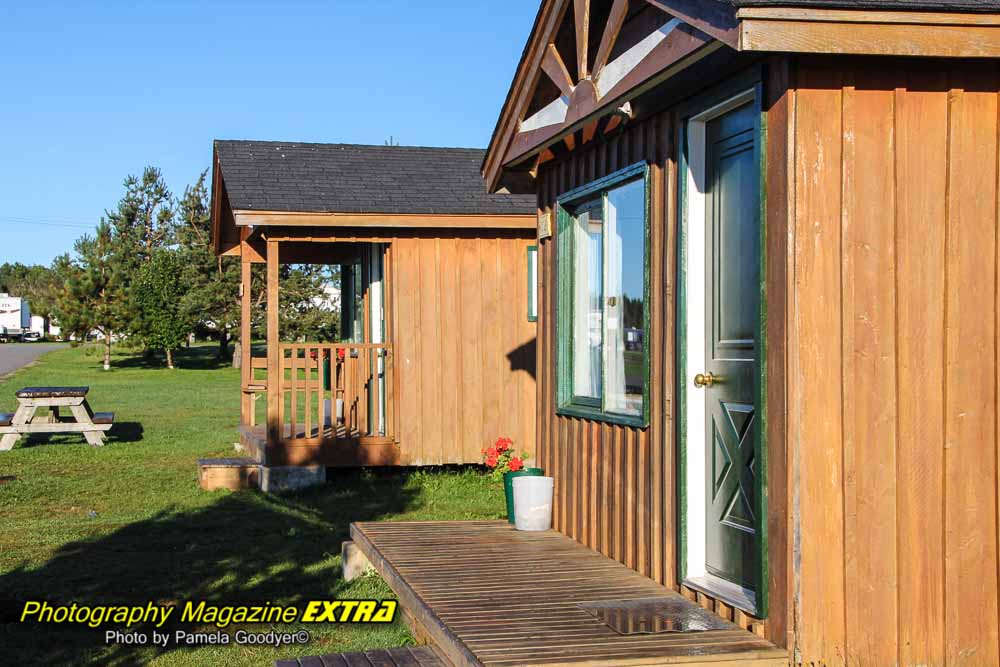
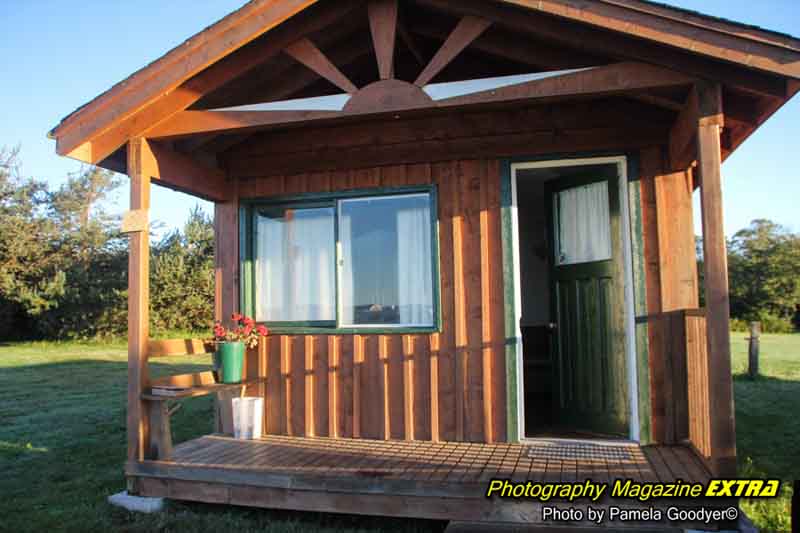
For a unique overnight stay, check out Herring Cove Provincial Park, where rustic cabins on the water come at an unbeatable price. Make sure to spend a day here to catch sunrise and sunset photos. And no visit to Lubec would be complete without stopping at Roosevelt Provincial Park, bursting with beautiful flower colors. Take a ferry ride to Deer Island and then another boat to the mainland, where you can continue your journey to St. Martin and Fundy Trail – more adventures await!
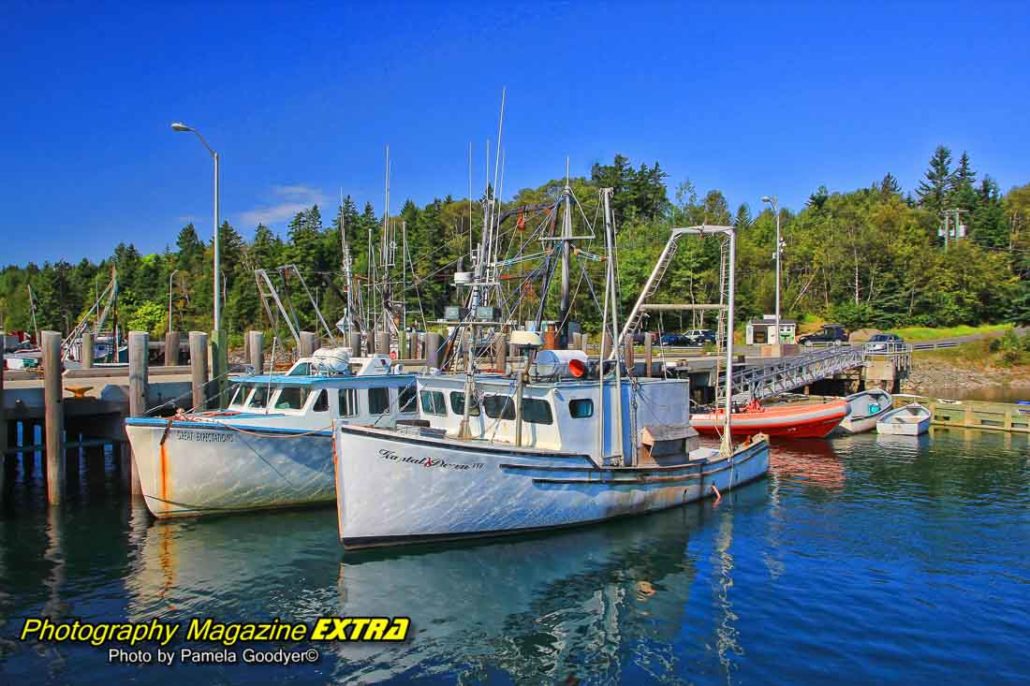
Campobello Island – You can photograph lighthouses, eagles, whales and more.

All of the boat docks and rugged coastal points are worth seeing. On this particular sunny day, the colors seemed dynamic everywhere we explored.

All of the winners will have their photo featured in our Magazine Lots of Prizes
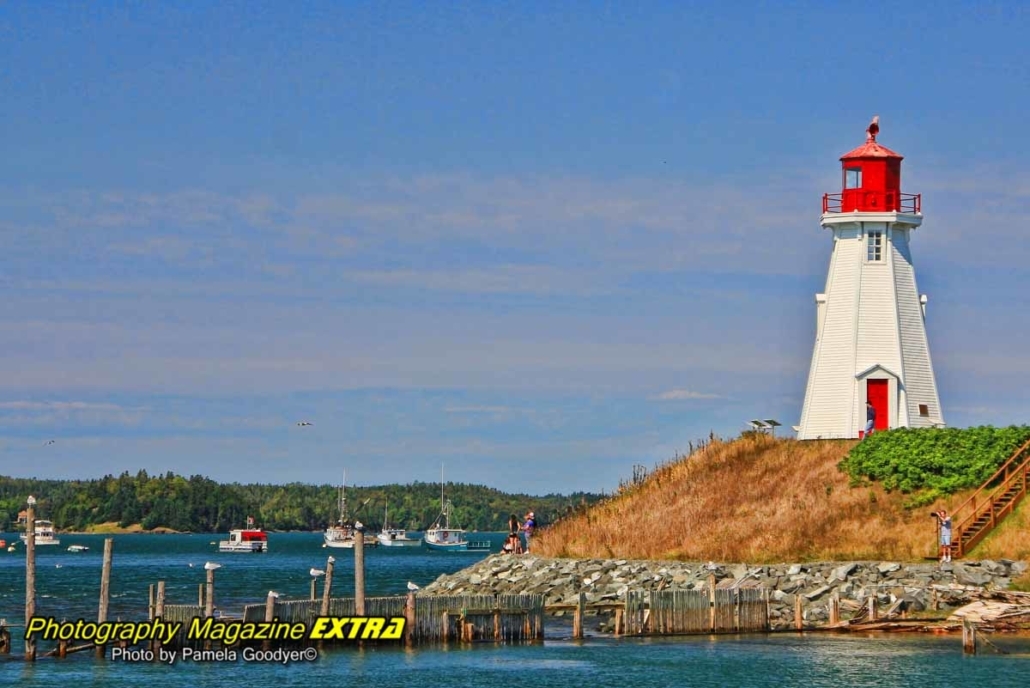
Be sure to bring your zoom lens to all these areas on Campobello Island. There were several eagles and many seals to photograph along the bay at the foot of the lighthouse. Roosevelt’s House is excellent for macro photography. As the pictures show, there are many flowers to photograph. The red building is not only educational on the inside but also a dynamic photography subject with its bright red outside. A general rule of thumb in photography is to shoot anything red. (East Cody Head Lighthouse Image above)
ROOSEVELT CAMPOBELLOW INT’L PARK
Parc international Roosevelt de Campobello
459 NB-774, Welshpool, NB E5E 1A4, Canada
The Park is open for the season from mid-May until mid-October, from sun-up to sundown.
MULHOLLAND POINT LIGHTHOUSE
(Image above)Mulholland Point Lighthouse was built in 1885. Although the lighthouse is not open to the public, you can walk around it. There is a marine Life exhibit in an old fishing shed, many harbor seals, and some great colors for dynamic photography.
Location: On the west side of Campobello Island, about 1/4 mile north of the Franklin D. Roosevelt Bridge near Welshpool, NB
Your next travel photography journey spot. While passing through this little town, you can explore the sea caves and photograph a covered bridge and a small lighthouse on land. They have some cute little inexpensive cabins with TVs, beds, and heat to stay in if you are on a budget. There are two campgrounds on the beach, which is also an excellent location for sunrise photography.
After that, it’s time to head up to Fundy Trail.

Spend a day photographing Campobello Island, then head to St. Martin and the Fundy Trail. To save time, take a Ferry from Deer Island and drive north to the next ferry to the mainland. Along the way are boat docks and one small country corner store. We discovered new photography opportunities while waiting for the ferry by wandering around behind the restaurant. On the boat ride, you’ll pass a lighthouse that is worth photographing. You won’t miss the stunning sea caves when you arrive on Main Street in St. Martin. There is a restaurant here, but we did not have time to stop since it closes at five. We spent the night in a cozy cabin on the beach for only 40 dollars before heading to Fundy Trail the next day.
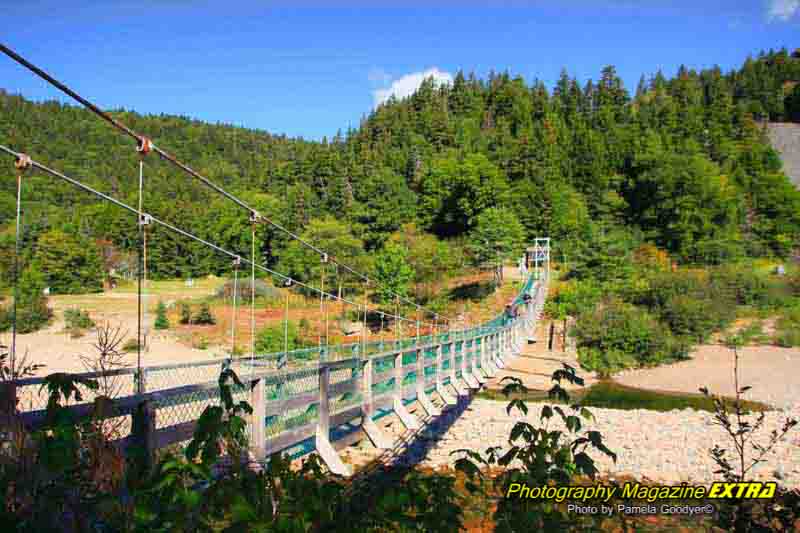
Don’t miss this incredible spot just a short distance from the suspension bridge on Fundy Trail. On your travel photography journey, this stop is towards the back of the park. You will see a big parking lot. You will recognize the area from our slideshow pictures below. There are a lot of colors and textures along this short walk near the stream that leads to The Bay of Fundy—one of the best spots in the Park. The slideshow has several images from this central area in the park.

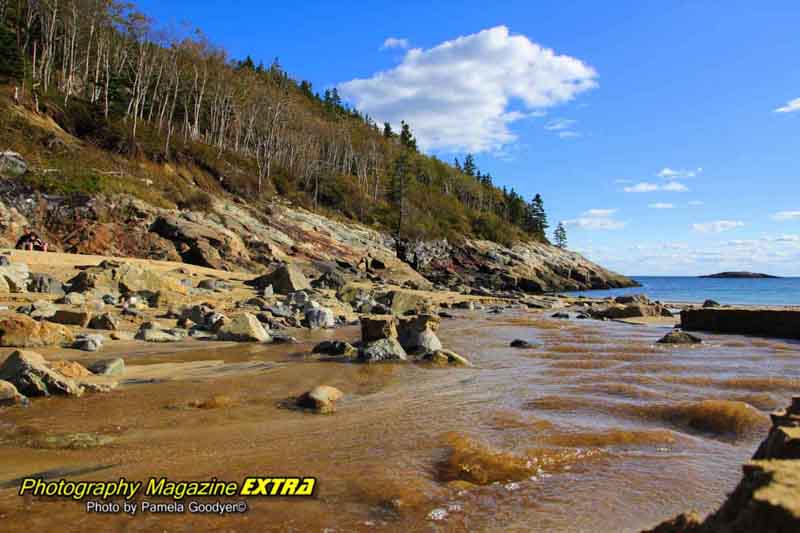
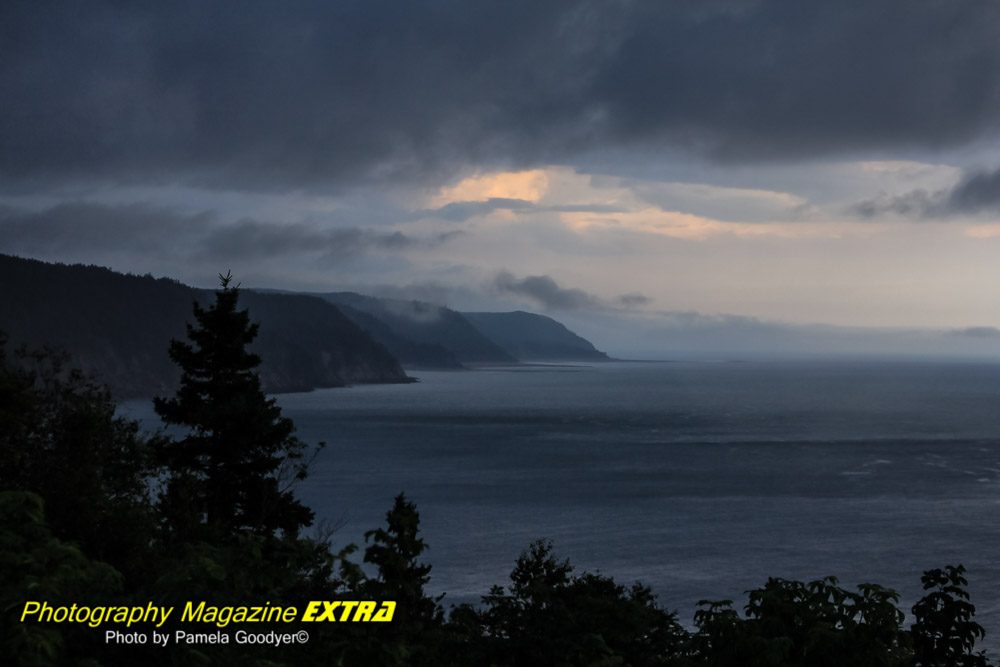
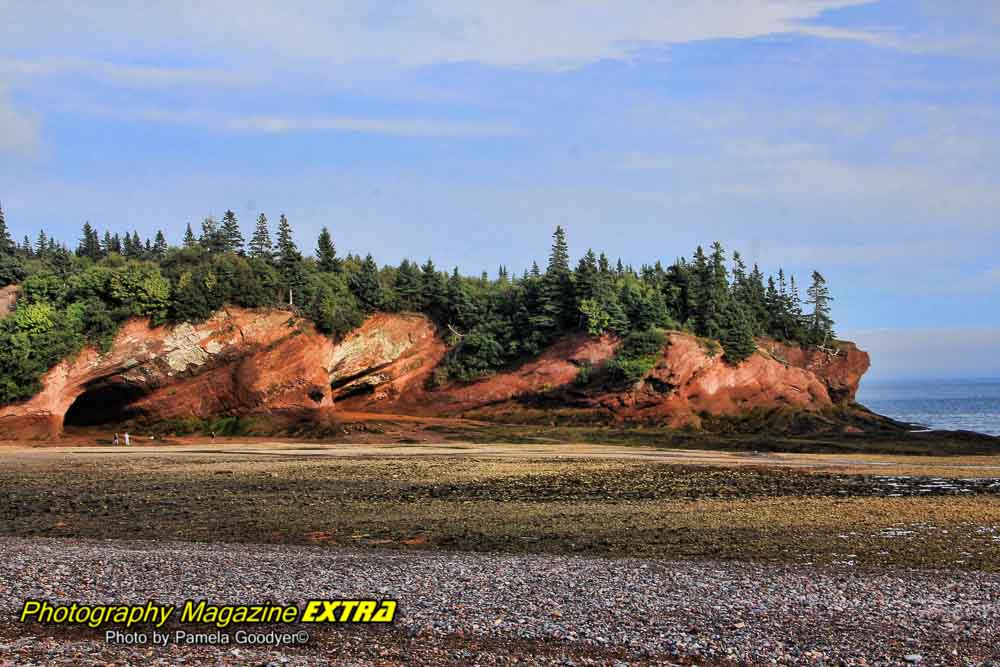
The Fundy Trail is a 12-kilometer scenic route along the coastline of New Brunswick. The trail offers stunning views of the Bay of Fundy and a chance to see some of the local wildlife. When you reach the bridge area on Fundy Trail, head over to the coast to see the incredible view. (see the rocks on the beach image)
FUNDY TRAIL PHOTOGRAPHY
The Fundy Trail is a beautiful place to take photographs. The scenery is stunning, and the wildlife is fantastic. There are a few things to remember when taking photos in the area. First, the light can be very harsh, so using a filter or shooting in the early morning or late evening is essential for silky water shots. And do not forget your ten-stop Neutral density filter. Second, there are a lot of bugs, so it is necessary to wear organic bug spray. Third, the trail can be very muddy, so it is essential to wear appropriate footwear. Lastly, have fun and enjoy the experience.
THINGS TO PHOTOGRAPH
There are many beautiful spots inside Fundy Trail to photograph. Here are a few of our favorites: the headlands. These cliffs offer stunning views of the Bay of Fundy and its dramatic tides. Be sure to bring your tripod to capture the best shots. The beaches here are perfect for photography, whether you want to photograph the crashing waves or the tranquil tide pools. Just be careful not to get too close to the edge. The dense forest uniquely contrasts with the ocean views. Look for exciting fungi, mosses, and lichens. Wildlife is abundant on Fundy Trail, including deer, bald eagles, and ospreys. Keep your camera ready so you don’t miss a shot—Fundy Trail basic information.
WHEN TO GO TO FUNDY TRAIL
The best time to visit Fundy Trail is during the summer when the weather is warm, and the trails are open. However, fall and spring are also great places to see as the temperatures are cooler and the leaves change.
HOW TO GET TO FUNDY TRAIL
This beautiful coastal route takes you through some of the province’s most stunning scenery, including the Bay of Fundy. Here’s how to get there: Take Route 1 from Moncton to Alma. This will take you through some of New Brunswick’s picturesque farmland. At Alma, take a right onto Route 114 and follow it until it dead-ends at the Fundy Trail Parkway. Follow the Fundy Trail Parkway until it ends at the Bay of Fundy. This is where you’ll find some of the most incredible views in New Brunswick. Be sure to stop at one of the many lookout points along the way to snap some photos!
Before you leave for your trip, you can use this as a checklist to ensure you have everything you need.
LIGHT POLLUTION MAP:
CAMERA:
You will need a camera to manually control your ISO, shutter speed, and aperture.
LENS:
A fast, wide-angle lens of 1.4 – 2.8 is ideal. If you use a 3.5 or higher (slower lens), you must increase the ISO. The higher the ISO, the more grain or digital noise will appear in your photos.
TRIOPD:
A good, sturdy tripod is essential for night photography. If it gets windy, you will need a sturdy one. Remember that when you buy one, it should be sturdy enough to withstand the wind but small enough to fit in your suitcase.
SKY MAP:
Sky Guide is available through the iTunes Store for $1.99. It has a 5 out of 5-star rating on both the current (3.2) version (1200+ ratings) and all previous versions (8600+ ratings).
FLASHLIGHT:
Our choice is the Coast brand for flashlights. The ideal flashlight will have high lumens, and you can zoom in and out on the light emitted by the flashlight. Get the HP7, PX45, or the G50. Ideally, go with the HP7.
MOON PHAZE MAP:
The best time to go is during a new moon; you want to be in the darkest area possible. The week before the new moon, when the moon has not risen, is a perfect time to go, so be sure to check the moonrise chart to see when the moon will be up.
REMOTE SHUTTER RELEASE:
When painting with light and over a 30-second exposure, you must have a shutter release to use your bulb mode. You can use the remote release or your camera’s built-in two-second timer when exposing your pictures.
CAMERA SETTINGS FOR MILKY WAY
ISO:
Start with ISO 1600 – 3200. This is a common starting point, and you will adjust from here.
SHUTTER SPEED:
Remember, the Earth is rotating. If you leave the shutter open for too long, you will see star trails that will not make for a crisp image. We want crisp, non-star trail images. Here is the formula to avoid star trails—the 500 rule – Divide 500 by the focal length of your lens. So, if you have a 24mm lens on a full-frame camera, you will set your shutter speed to 20 sec. (500/24 = 20.83). If you are using a crop sensor camera, first do the math of the crop sensor to find the focal length. Cannon is 1.6, Nikon is 1.5. Convert to full-frame focal length, then use the formula. Nikon 18mm x 1.5= 27mm – 500/27 = 18.51 seconds.
APERTURE:
Depth of field isn’t critical on these shots, but letting light into the camera is; therefore, you should shoot wide open if.
WHITE BALANCE:
In live view mode, you can change your white balance settings and see what they look like.
LIVE VIEW:
To focus in the dark, use your camera’s live view, hit the zoom button, and focus on a bright star. You can also use the infinity setting on your lens, but do several test shots to determine accuracy. It can be off a little on some lenses. You can also light it up with a flashlight, focus, then gently, without touching the focus ring, put the camera in manual focus so it will not search for the focus. You must do this each time you move your camera to take your next angle.
WHEN TO VIEW THE MILKY WAY:
The best images are usually of the dense part of the Milky Way. We can see this part of the Milky Way in the southern sky. During March, April, and May, the Milky Way rises above the horizon in the pre-dawn hours. In June, at about 10:00 p.m., you will see the Milky Way. From July until October, you can see the Milky Way as soon as the sun sets, and it becomes dark enough to see about an hour after sunset. In November, the Milky Way no longer comes above the horizon. You will have to wait until March if you want to stay away really late or get up early to see her again.
See our Milky Way Hot Spot Locator and our Night Photography Information.


