Basic Photography – Beginner
This is where you come to for all your beginner photography basics needs. We keep it short, sweet and straightforward.
It takes practice to get started. We teach by breaking it down into individual categories.
- Shutter speed
- Aperture
- ISO
- White balance
After you master each one individually, then we practice combining ISO, shutter speed and aperture and learn how one affects the other. If you do it differently, it gets very confusing. We suggest you follow our method. If you’d like one-on-one, in-person instruction in New Jersey or via Zoom, nights and weekends. Please send us an email through our contact page. Learning basic photography is easier when it’s explained to you in person.
Quickly Learn Basic Photography
Do you have a brand-new DSLR, or have you been using one for a while in auto mode, and are you ready to take your photos to the next level? Are you wondering how to achieve the milky look on waterfall images in your photography? Are your pictures blurry in auto mode, or is the color off? You’ve come to the right place. Here, we review everything necessary and get you up and running quickly.
We are going to give you homework, so get ready for some practice. You will be up and running, creating dynamic photos, in a very short time. We will teach you the basics so you can shoot absolutely anything! Once you’ve taken great photos, please enter our photo contest.
Four Photography Basics
Our discussion will begin by examining each of the four main categories individually. Then, we’ll explore how they work together and how one can impact the other. After that, it’s time to put your knowledge into practice with some assignments. The key elements you need to understand are Shutter Speed, Aperture, White Balance, and ISO. We’ll delve into each of these in-depth. Shutter speed refers to the speed at which the shutter opens and closes. The aperture is the opening size that controls the amount of light entering the camera and affects the depth of field. White balance determines the color temperature based on the type of lighting, such as sunlight, shade, or cloudy weather. ISO also plays a role in regulating the amount of light that enters the camera. To start off, let’s review some essential fundamentals.
Camera Batteries
Let’s start with the camera basics and general things you should consider. How long will you be out shooting? How many shots will you take? How long will your battery last? Buy an extra battery. We have found that the off-name brands do not last as long as the name-brand batteries. So grab an extra one on your next shopping trip or order one from our Store on the shopping page.
White Balance
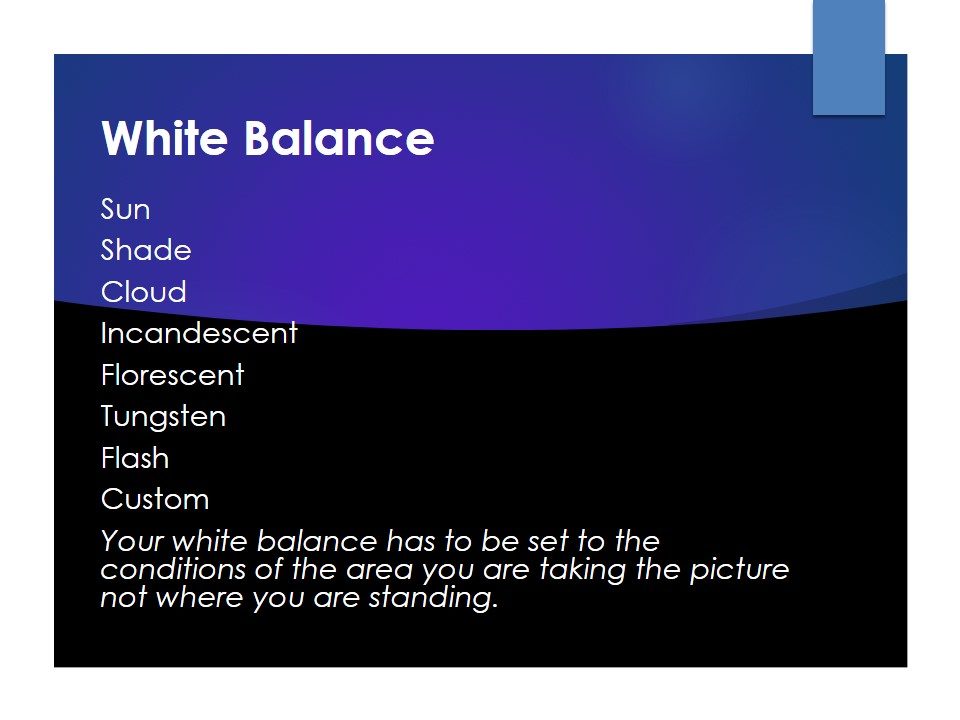
White Balance tells your camera what color temperature to use. We won’t get technical. We will tell you the basic rule is to match the white balance to your surroundings. If you are outdoors in the sun, put it in the sun. If you are in the shade or it’s cloudy, move it to those settings. Most DSLRs have an outside setting for white balance. Look around the outside of the camera body for WB. Click this, and a menu should pop up showing the main settings. Sun, Cloud, Shade, Flash, Fluorescent, Incandescent, Tungsten, and Custom. We will go over the custom later.
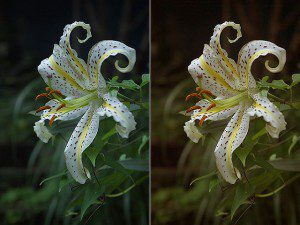
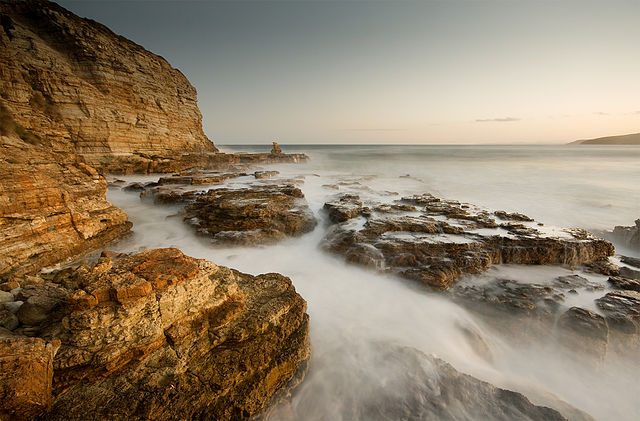
WHITE BALANCE—The image, “Clifton Beach 5,” by JJ Harrison (jjharrison89@facebook.com), Was done with a warm white balance for an enhanced effect. You can see the lilies have two different looks. These are two different color temperatures. We want you to get the color temperature right while shooting, not in post-editing. We call it post-op. It’s like doing an operation. Although some love editing photos, some do not and want to get it right in the camera. Here is how.
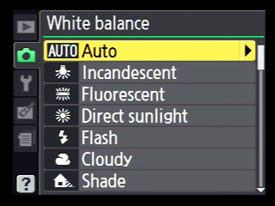
Find the White Balance or WB on your camera. In some cameras, you have to go into the menu on the back of the camera, and it’s usually the first or second menu. Other cameras will have a WB on the outside. Click WB (white balance) Match sun, shade, clouds, flash, tungsten, fluorescent, or incandescent. For now, indoors use your flash and put your white balance on flash and ignore the light bulb named settings. Every time your surrounding change you will have to change this. Get into the habit of changing your white balance every time you pop up your flash or put it down.
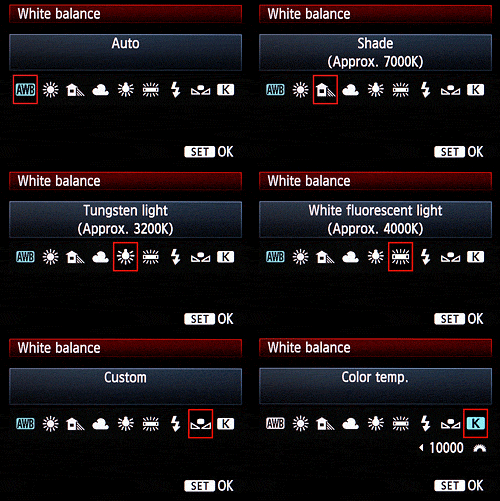
The images show the menu in your camera that you are looking for to set the white balance if you do not have a WB on the outside of the camera body. If you use auto mode, it’s not going to be perfect. Some cameras are better at auto white balance than others. We do not particularly care for auto white balance. We like to be in the habit of setting from the get-go. Amateurs use auto. Professionals rarely if ever do.
Camera Sensor
When you go into the chain stores that do not specialize in photography equipment, they are not professional photographers or real experts in camera equipment. You will hear them push megapixels. That is so not important here. Some reviews now say too many megapixels are not great and have a negative side to packing so much information in. The bottom line is, don’t let them push this on you. The sensor size is the most important. A full-frame professional camera that starts at about $2,000.00 for the body has the largest sensor size. The bigger the sensor, the better the camera and the more expensive it will be.
Now, head over to White Balance for a review and a little more detail. Then go to ISO, shutter speed and aperture. Then you’re ready to start practicing. You will have homework in each section. It takes practice to master this. But you can do it quickly and easily.


