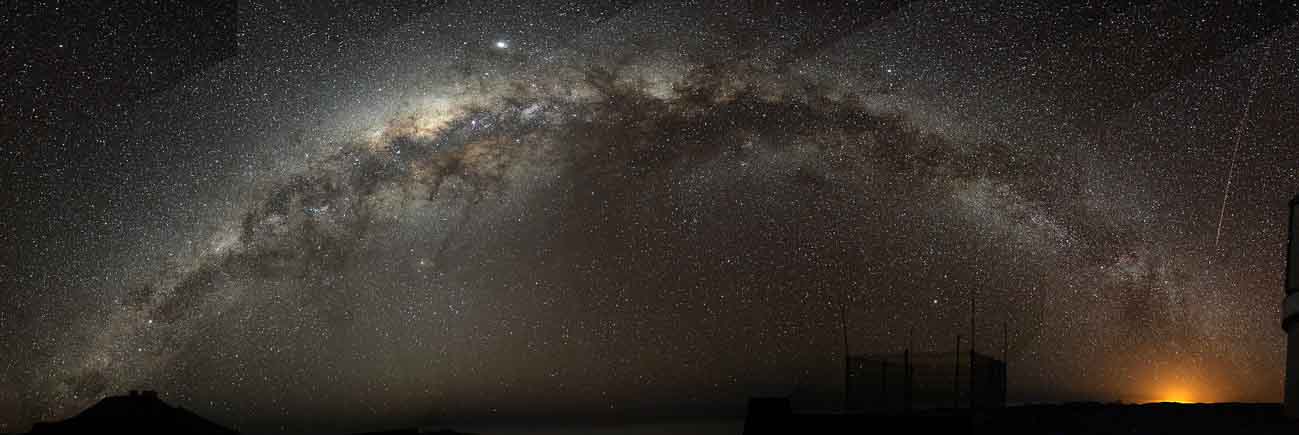
Milky Way photography
Use a Tripod:
You must be on a tripod. A good sturdy tripod is necessary if it is windy. If the tripod moves, your picture will blur.
Focus:
Use live view. To focus the camera in the dark, use your camera’s live view, zoom in, and focus on a bright star. You can also use the infinity setting on your lens but do several test shots to determine accuracy. It can be a little off on some lenses. If you have subject matter like a tree, shine a flashlight on the tree to obtain focus, then carefully, without touching the focus, switch it to manual focus. Do this each time you change your shot.
Manual Mode:
Set your camera to manual mode so you can control the aperture and the shutter speed.
ISO:
Start with ISO 3200. This is a common starting point, and you will adjust from here. Remember, the higher the ISO, the more digital noise.
Aperture:
The depth of field isn’t critical on these shots, but letting the light in the camera is; therefore, you shoot wide open. (The lowest aperture your camera will allow). Ex: 2.8
Shutter Speed:
Now that the ISO and aperture are set in manual mode, roll your shutter speed until your meter reads (0) zero. Take a test shot and adjust from there.
Remember, the Earth is rotating. If you leave the shutter open for too long, you will see star trails that will not make for a crisp image. You can make star trails specifically, but that’s not what we are going for here since we start with Milky Way photography. We want crisp non-star trail images when doing this.
Here is the formula to avoid star trails. The 500 rule – Divide 500 by the focal length of your lens. So, if you have a 24mm lens on a full-frame camera, you will set your shutter speed to 20 sec. (500/24 = 20.83). If you are using a crop sensor camera, first do the math of the crop sensor to find the focal length. Cannon is 1.6, Nikon is 1.5. Convert to full-frame focal length, then use the formula. Nikon 18mm x 1.5= 27mm – 500/27 = 18.51 seconds.
White Balance:
Shoot your night photography raw so you can easily edit your images and have more information to work with than if you shot JPEG. You can change your white balance settings in live view mode and see which looks best for each shot. You can shoot in the shade or cloud as a standard-setting and adjust things later. Add in color in your milky way to match the subject while editing the image then if you would like to.
Those are all essential starting points for doing your Milky Way shots. You will want to find some exciting foregrounds to make your image dynamic. Doing routine old Milky Way shots will not win you any awards.


